

So here’s the thing about hummus: I tried making it at home for years, and every single time it came out grainy or bland. Then one day, I stumbled on a trick that changed everything. Turns out, the secret isn’t fancy ingredients or expensive tahini. It’s all about how you blend it. This hummus recipe has become my weekly ritual. My kids will literally eat an entire batch with carrots and pita in one sitting. I’m talking about the kind of hummus that makes you stop mid dip and wonder why you ever bought those tiny containers from the grocery store for six bucks a pop. The best hummus recipe I’ve ever made starts with just chickpeas, tahini, lemon juice, garlic, and good olive oil. That’s it. No weird ingredients. No complicated steps. What you get is smooth, creamy hummus that rivals anything from a restaurant. Trust me, once you nail this vegan hummus recipe, you’ll never go back. And if you’re feeling adventurous, try adding roasted carrots for a sweet twist on the classic. This mediterranean hummus recipe works as a snack, sandwich spread, or the star of your next dinner party. Even better, it takes about 10 minutes from start to finish. You can whip up something way better than those store bought pie crust recipes in the same amount of time, and this lemon hummus recipe will actually impress people.
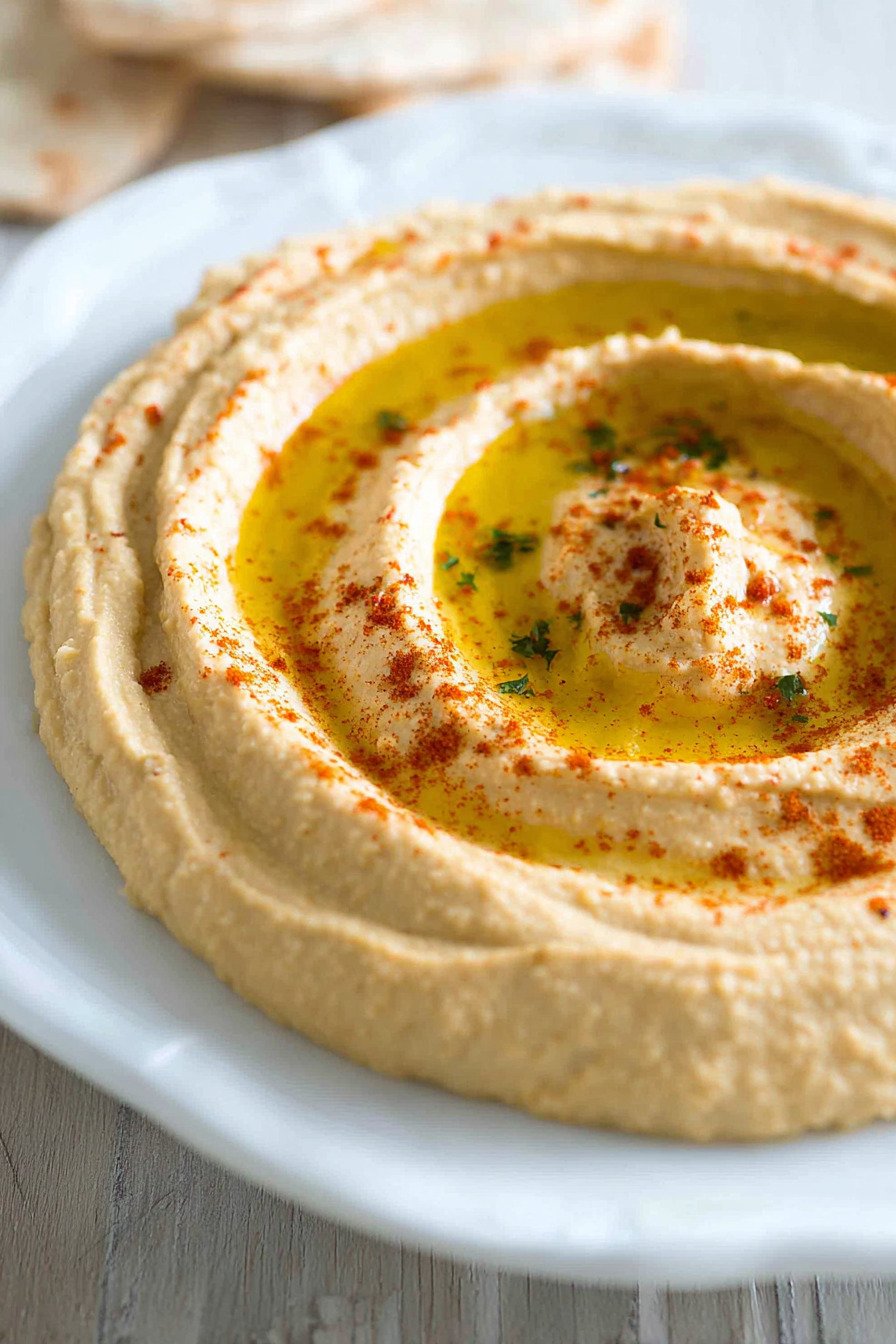
Table of Contents
- 1) Key Takeaways
- 2) Easy Homemade Hummus Recipe
- 3) Ingredients for Easy Homemade Hummus
- 4) How to Make Easy Homemade Hummus
- 5) Tips for Making Easy Homemade Hummus
- 6) Making Easy Homemade Hummus Ahead of Time
- 7) Storing Leftover Easy Homemade Hummus
- 8) Try these Appetizers & Snacks next!
- 9) Easy Homemade Hummus
- 10) Nutrition
1) Key Takeaways
- What makes hummus smooth and creamy?
- Can you make hummus without tahini?
- How long does homemade hummus last in the fridge?
- What can I serve with hummus?
2) Easy Homemade Hummus Recipe
Look, I’m gonna be straight with you. This hummus recipe changed my life. Not in some dramatic, movie moment kind of way. More like the quiet realization that I’d been wasting money on tiny plastic tubs of mediocre dip when I could’ve been making something infinitely better at home. The first time I made this, my husband literally stopped mid bite and asked if I’d bought it from that fancy Mediterranean place downtown. Nope. Just my food processor and ten minutes.
What makes this the best hummus recipe? It’s silky smooth. We’re talking about the kind of texture that makes you want to run your finger through the bowl. The lemon hummus recipe brings this bright, tangy flavor that wakes everything up. And here’s what nobody tells you about making hummus at home: you can adjust it to exactly how you like it. More garlic? Go for it. Extra lemon? Absolutely. That’s the beauty of a good vegan hummus recipe.
I make this every single week now. Sometimes I’ll roast some carrots and blend them in for a carrot hummus recipe variation that’s slightly sweet and totally addictive. Other times I keep it classic, just chickpeas and tahini doing their thing. Either way, it beats anything you’ll find in stores. Even those expensive brands that cost as much as store bought pie crust recipes can’t compete with homemade. This mediterranean hummus recipe works for everything from a quick snack to party appetizers, and people always ask for the recipe.
3) Ingredients for Easy Homemade Hummus
Chickpeas: I usually grab a can of chickpeas from my pantry because I’m lazy and it works perfectly. Sometimes I’ll cook dried chickpeas if I’m feeling ambitious, but honestly? The canned ones make incredible hummus. Just drain them and give them a quick rinse. Some people get really into peeling each chickpea to make it smoother, and I tried it once. Took me forever and I couldn’t really tell the difference. Save yourself the trouble unless you’ve got time to kill.
Tahini: This is your hummus game changer. Good tahini makes all the difference. I learned this the hard way after buying cheap tahini that tasted like bitter sadness. Now I spend a few extra bucks on quality stuff. It should be smooth and pourable, not thick and gritty. Stir it really well before you use it because the oil separates. If your tahini tastes off, your hummus will taste off. Simple as that.
Fresh Lemon Juice: Please don’t use the stuff in the plastic lemon. Fresh squeezed lemon juice is what gives hummus that bright, tangy kick. I usually need one large lemon, maybe a little more if I’m feeling citrusy that day. Roll it on the counter before cutting to get more juice out. My grandmother taught me that trick and it actually works. The acidity from the lemon balances out the rich tahini beautifully.
Garlic: Just one small clove. I know, I know, it seems like nothing. But raw garlic is strong, and you can always add more later if you want that punch. I mince mine pretty finely so it blends in without leaving chunks. Some days I’ll add two cloves because I’m a garlic fiend, but start with one and taste as you go. You can’t take it out once it’s in there.
Extra Virgin Olive Oil: This adds richness and helps everything come together into that smooth, creamy texture we’re after. I use a decent olive oil here, nothing too fancy, but not the bottom shelf stuff either. You’ll blend some into the hummus and then drizzle more on top when you serve it. That glossy pool of olive oil on top of hummus? Chef’s kiss. Makes it look restaurant quality.
Ground Cumin: Half a teaspoon might not sound like much, but cumin brings this warm, earthy flavor that makes hummus taste like actual hummus and not just mashed chickpeas. It’s the secret ingredient that people can never quite put their finger on. Toast it in a dry pan for 30 seconds if you want to get really fancy. The aroma that fills your kitchen is incredible.
Salt: Start with a good pinch and add more to taste. Salt makes everything sing. I probably add more salt than the average person because I like bold flavors, but you do you. Just remember that tahini and chickpeas are pretty bland on their own. They need salt to bring out their natural flavors and make everything pop.
Water or Aquafaba: This is how you control the consistency. Some people like thick hummus, some like it thinner and more scoopable. I use the liquid from the chickpea can, which is called aquafaba. It has a slightly bean flavor that actually works really well here. Ice water is another option that some people swear by for extra creaminess. Add it slowly while blending until you get the texture you want.
4) How to Make Easy Homemade Hummus
Step 1. Dump your tahini and lemon juice into the food processor. This is the weird part that nobody expects. You’re gonna blend just these two ingredients for a whole minute. I thought it was crazy the first time too, but trust the process. Scrape down the sides of the bowl with a spatula, then blend for another 30 seconds. Watch it get lighter and fluffier right before your eyes. This step is what makes your hummus silky instead of grainy.
Step 2. Add your olive oil, minced garlic, cumin, and a generous pinch of salt to the whipped tahini mixture. Hit blend for 30 seconds. Stop, scrape everything down from the sides, then blend for another 30 seconds. You’re building layers of flavor here. Each ingredient gets its moment to shine and mix properly with what came before it. The mixture should look creamy and smell absolutely amazing.
Step 3. Time for the chickpeas. Add half of them to your food processor and let it run for a full minute. Don’t cheat and add them all at once. I did that once and ended up with chunky hummus that I had to blend for ages. The gradual approach gives you that restaurant smooth texture we’re going for. After a minute, the chickpeas should be mostly broken down and starting to incorporate into the tahini mixture.
Step 4. Toss in the rest of your chickpeas. Keep that food processor running for another minute or two. You want it completely smooth. No chunks, no graininess, just pure creamy goodness. If it looks too thick, this is where you start adding your water or aquafaba. Add it one tablespoon at a time while the processor is running until you reach your desired consistency. Some days I like mine thick enough to stand a carrot stick in. Other days I want it more pourable.
Step 5. Stop and taste your hummus. This is the fun part. Need more salt? Add it and blend again. Want more lemon? Pour it in. Think it needs another garlic kick? Go ahead. The recipe is just a starting point. My version changes every time I make it depending on my mood and what I have on hand. Sometimes I’ll add a splash more olive oil if it seems dry. Blend it one last time after any adjustments.
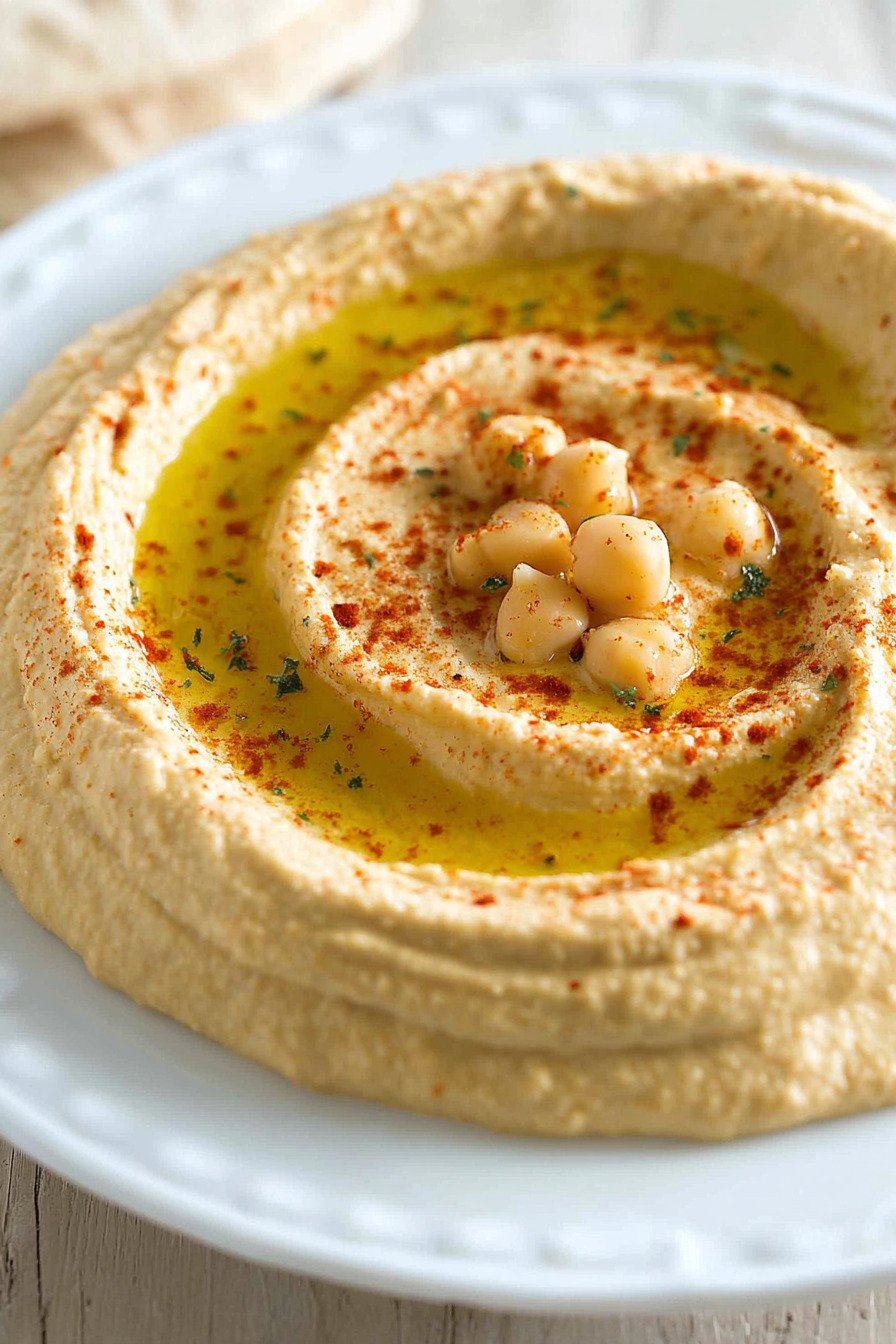
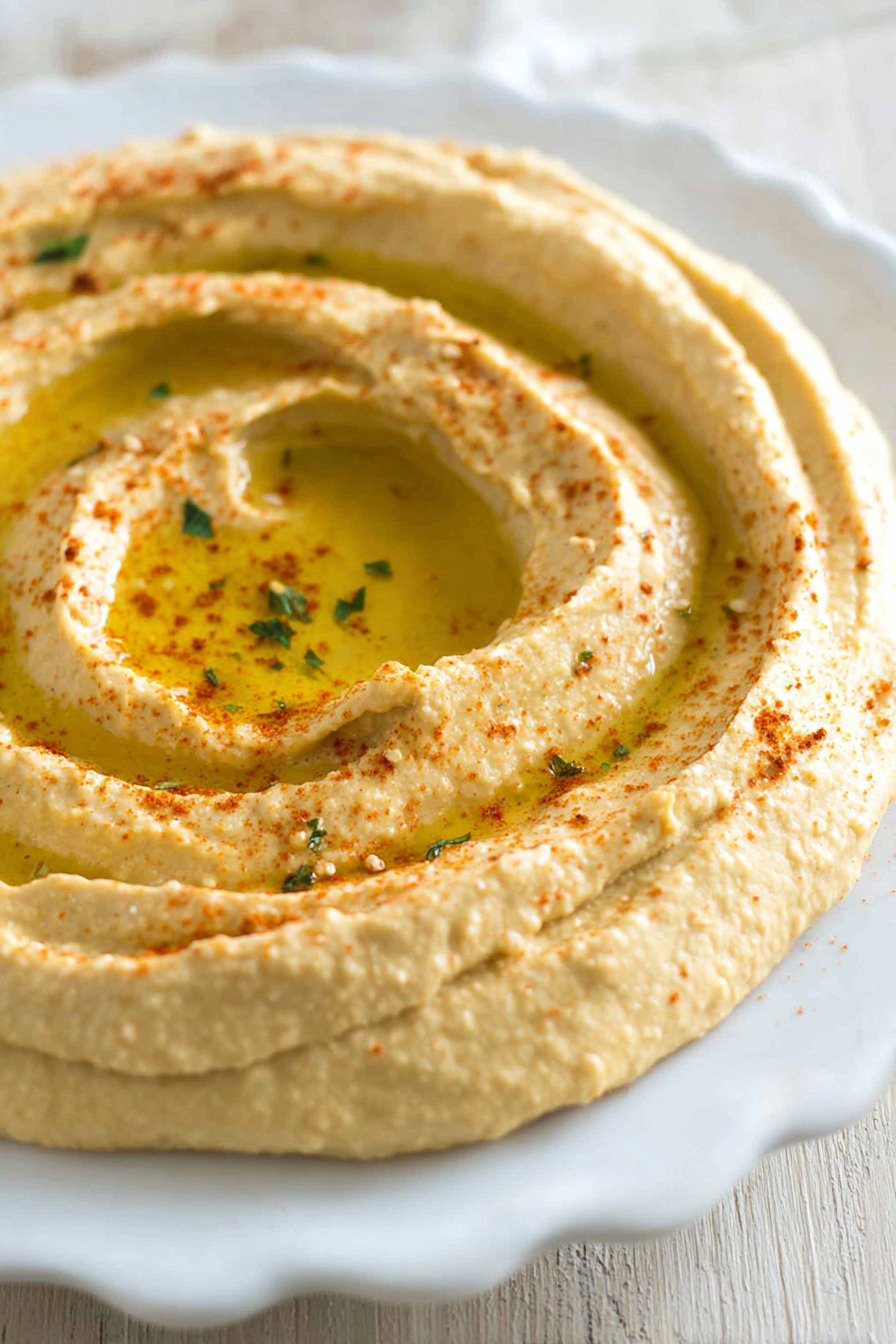
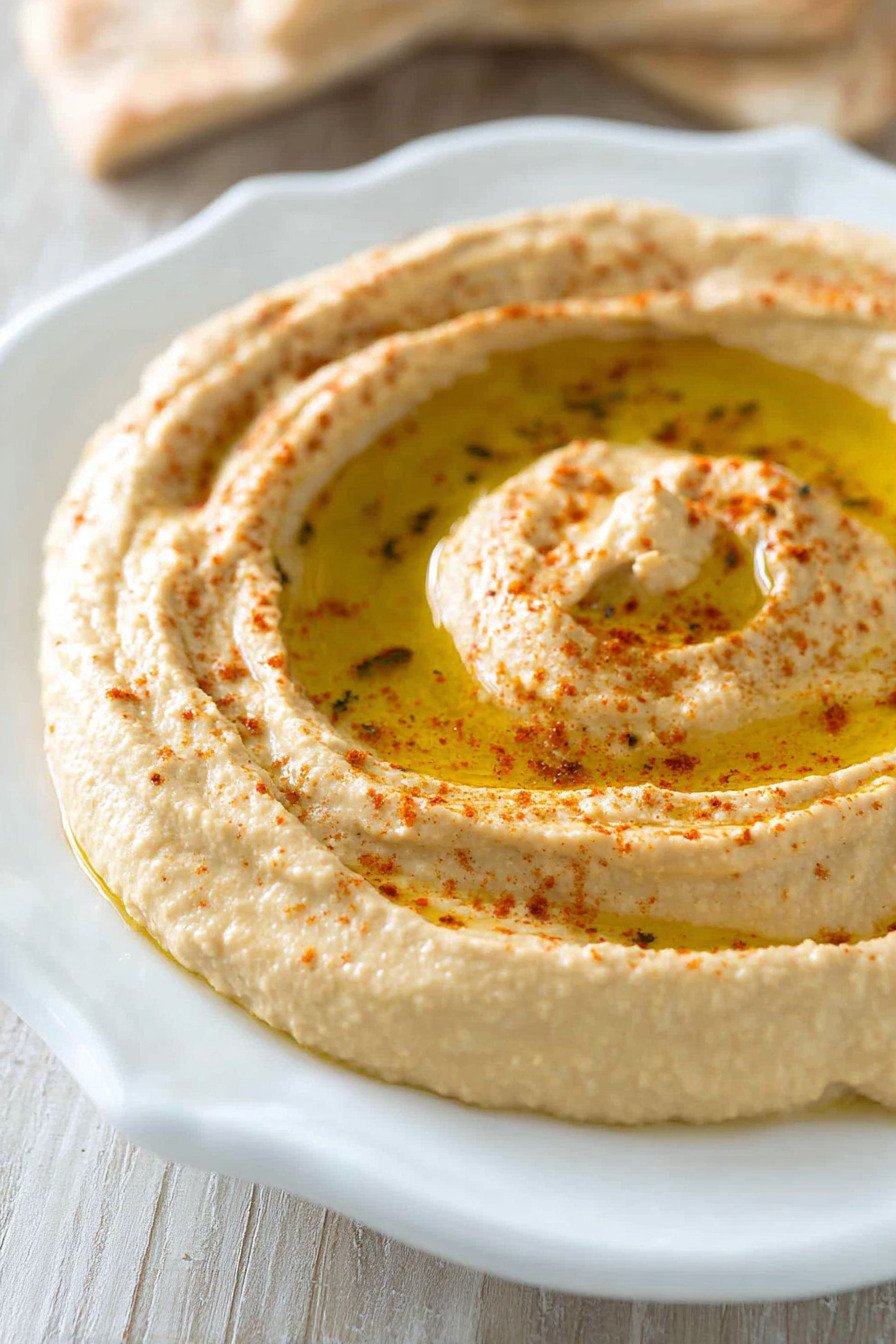
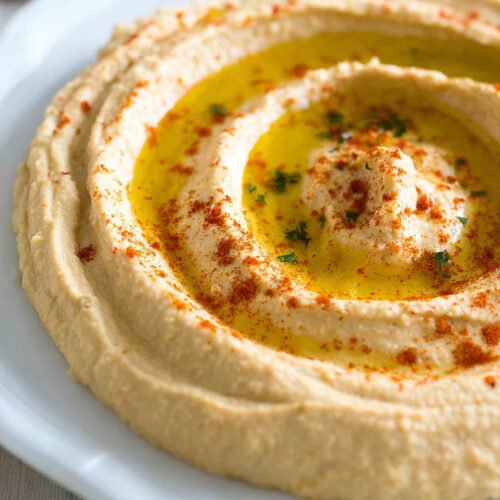
Step 6. Scoop your gorgeous hummus into a serving bowl. Use the back of a spoon to make a nice swirl or well in the center. Drizzle some good olive oil over the top. It’ll pool in that well and look like you spent hours on this. If you’ve got paprika or fresh parsley, sprinkle some on top. It’s not just for looks, it actually adds another layer of flavor. Now grab your pita, vegetables, or honestly just a spoon, and dig in.
5) Tips for Making Easy Homemade Hummus
Get your tahini right. I can’t stress this enough. Room temperature tahini blends way better than cold stuff straight from the fridge. Give it a good stir before you measure it out because the oil always separates and hangs out at the top. If your tahini is old or smells off, throw it out and get fresh. Bad tahini will ruin your whole batch, and there’s nothing you can do to save it once it’s in there.
Let your food processor do its job. This isn’t a quick blend situation. You need to let that machine run for several minutes total to get the right texture. I used to rush this step and wonder why my hummus wasn’t as smooth as the stuff from restaurants. Turns out patience is key. If your food processor starts getting warm, that’s actually fine. The friction helps break everything down even more.
Play around with consistency. The hummus will thicken up a bit in the fridge, so make it slightly thinner than you think you want. When I’m serving it right away, I go for a texture that’s thick but still scoopable. For meal prep, I make it a little looser knowing it’ll firm up overnight. You can always stir in more water later if it gets too thick, but you can’t take water out once it’s in.
Don’t skip the whipping step with tahini and lemon. That first minute of blending just those two ingredients is what creates the creamy base. The lemon juice helps emulsify the tahini, making it lighter and fluffier. Skip this and your hummus will be dense and heavy. Take the time to do it right and you’ll see the difference immediately. It transforms from a thick paste into this airy, smooth cream.
Season as you go and adjust at the end. Chickpeas and tahini are pretty neutral, so they can handle a lot of seasoning. Start conservative and build up. I always do a final taste right before serving and usually end up adding a little more salt and lemon. Your taste buds are the best judge here. What tastes perfect to me might need more punch for you.
6) Making Easy Homemade Hummus Ahead of Time
This hummus is perfect for making ahead. I usually whip up a batch on Sunday and eat it all week. The flavors actually get better after sitting in the fridge for a day. Something about giving all those ingredients time to get to know each other makes it taste even more incredible. Just make it, transfer it to an airtight container, and stick it in the fridge. Easy as that.
If you’re meal prepping for the week, make your hummus a little thinner than usual. It’s going to thicken up in the fridge as it sits. I learned this after making a batch that turned into cement by day three. Now I add an extra tablespoon or two of water when I know I’m not eating it right away. When you’re ready to serve it, just stir it up and maybe add a splash more olive oil or water if needed.
Want to make it even further ahead? You can prep your ingredients the night before and blend everything in the morning. I sometimes measure out my tahini, squeeze my lemon juice, and mince my garlic the night before a party. Then it’s just a quick blend the next day and I’m done. Fresh hummus with minimal morning effort. That’s my kind of meal prep.
For parties or gatherings, make it the morning of or even the day before. Hummus at room temperature actually tastes better than cold hummus straight from the fridge. Pull it out about 30 minutes before you want to serve it. Give it a good stir, add fresh olive oil on top, and maybe some new garnishes. Nobody will know you made it yesterday. They’ll just think you’re incredibly organized and talented.
7) Storing Leftover Easy Homemade Hummus
Leftover hummus keeps beautifully in the fridge for about five days, sometimes up to a week if you’re lucky. I store mine in an airtight container, usually the same one I serve it in. Glass containers work great because they don’t stain or hold smells. Before you seal it up, press a piece of plastic wrap directly onto the surface of the hummus. This prevents that weird dried out layer from forming on top.
Another trick I learned from my friend who owns a restaurant is to pour a thin layer of olive oil over the top before you refrigerate it. Creates a seal that keeps everything fresh and prevents oxidation. When you’re ready to eat it again, just stir that olive oil right back in. Adds extra richness and keeps the hummus from drying out. Plus it looks pretty when you open the container.
If your hummus gets too thick after a few days in the fridge, don’t panic. Just stir in a tablespoon of water or lemon juice until it loosens up again. I keep a little bowl of water nearby when I’m scooping hummus for this exact reason. A quick stir with a wet spoon can revive it instantly. Sometimes I’ll add fresh garlic or lemon juice to perk up the flavors if they’ve mellowed out.
Can you freeze hummus? Technically yes, but I wouldn’t recommend it. The texture gets weird when it thaws, kind of grainy and separated. If you absolutely have to freeze it, do it in small portions so you can thaw just what you need. Let it thaw in the fridge overnight, then give it a really good stir or even a quick buzz in the food processor to bring it back together. But honestly, it’s so easy to make that I’d rather just whip up a fresh batch.
8) Try these Appetizers & Snacks next!
9) Easy Homemade Hummus
Easy Hummus Recipe That Beats Store Bought Every Time
Ingredients
- 1 can (15 oz) chickpeas, drained and rinsed
- 1/4 cup fresh lemon juice (about 1 large lemon)
- 1/4 cup tahini (well stirred)
- 1 small garlic clove, minced
- 2 tablespoons extra virgin olive oil, plus more for serving
- 1/2 teaspoon ground cumin
- Salt to taste
- 2 to 3 tablespoons water or aquafaba (chickpea liquid)
- Paprika and fresh parsley for garnish (optional)
Instructions
- Toss the tahini and lemon juice into your food processor. Let it run for about a minute. I know it sounds weird, but this step makes everything come together like magic. Scrape down the sides and blend for another 30 seconds.
- Add the olive oil, garlic, cumin, and a good pinch of salt. Blend for another 30 seconds, scrape the bowl, then go for another 30 seconds. You’ll see it getting lighter and fluffier.
- Dump in half your chickpeas and blend for a full minute. Then add the rest and keep blending for another minute or two until it’s smooth as silk.
- Here’s where you make it perfect. If it looks too thick, drizzle in some cold water or that chickpea liquid (aquafaba) one tablespoon at a time. Keep blending until you get that dreamy, creamy texture.
- Taste it. Does it need more lemon? More salt? Add whatever makes your taste buds happy.
- Scoop it into a bowl and make a little well in the center. Drizzle with olive oil and sprinkle with paprika if you’re feeling fancy. Serve it up with pita, veggies, or just grab a spoon.
10) Nutrition
Serving Size: 1/6 of recipe, Calories: 140, Sugar: 0.5 g, Sodium: 195 mg, Fat: 9 g, Saturated Fat: 1.2 g, Carbohydrates: 12 g, Fiber: 3 g, Protein: 4 g, Cholesterol: 0 mg


Leave a Comment