
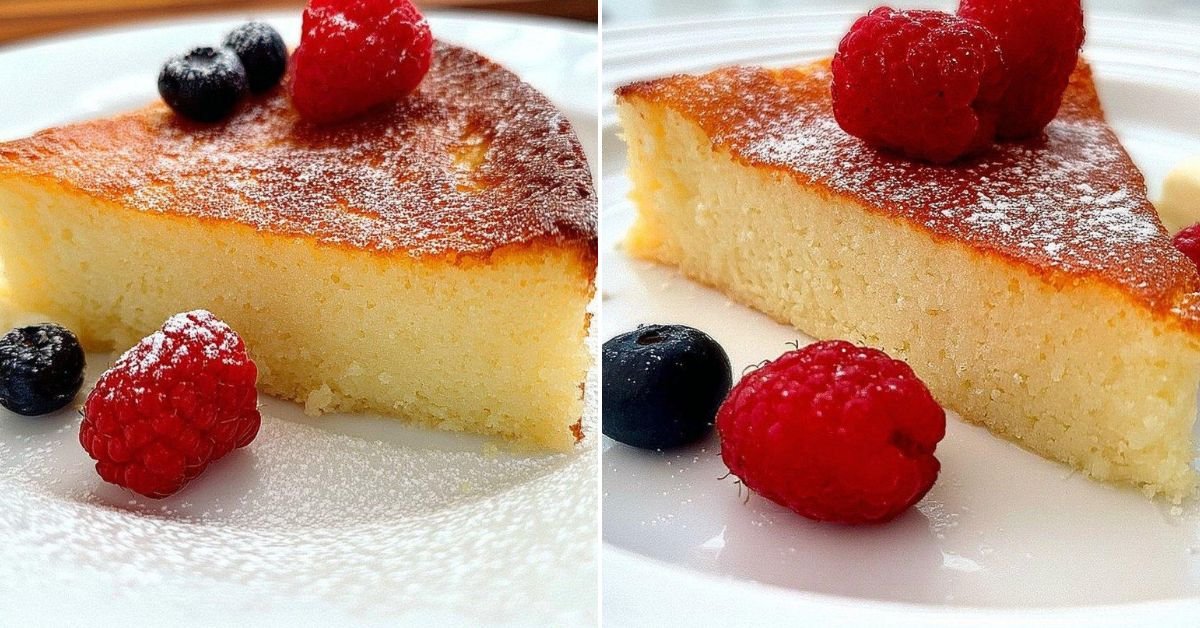
I’ve got to tell you about this cheese cake recipe that’s been changing my dessert game lately. We’re talking about a cake so light and fluffy, you’ll forget you’re eating something that won’t wreck your whole week of healthy eating. This 6 inch cheesecake recipe came into my life when I was desperately searching for light Greek yogurt desserts that didn’t taste like cardboard. What makes this one of my favorite healthy cake recipes? Well, there’s barely any sugar, no butter, no oil. Just pure, creamy goodness. I remember the first time I mixed these ingredients together, thinking there’s no way this’ll work. Boy, was I wrong. It bakes up into something that tastes remarkably like those expensive low fat cake recipes you see in fancy bakeries. This ranks right up there with the best Greek yogurt dessert recipes I’ve stumbled across. Some folks even compare it to the My Favorite F Word cheesecake, and honestly, they’re not far off. It’s got that same dreamy texture, that same satisfying taste, but without all the guilt. Perfect for when you want dessert but don’t want to feel like you need a nap afterward.
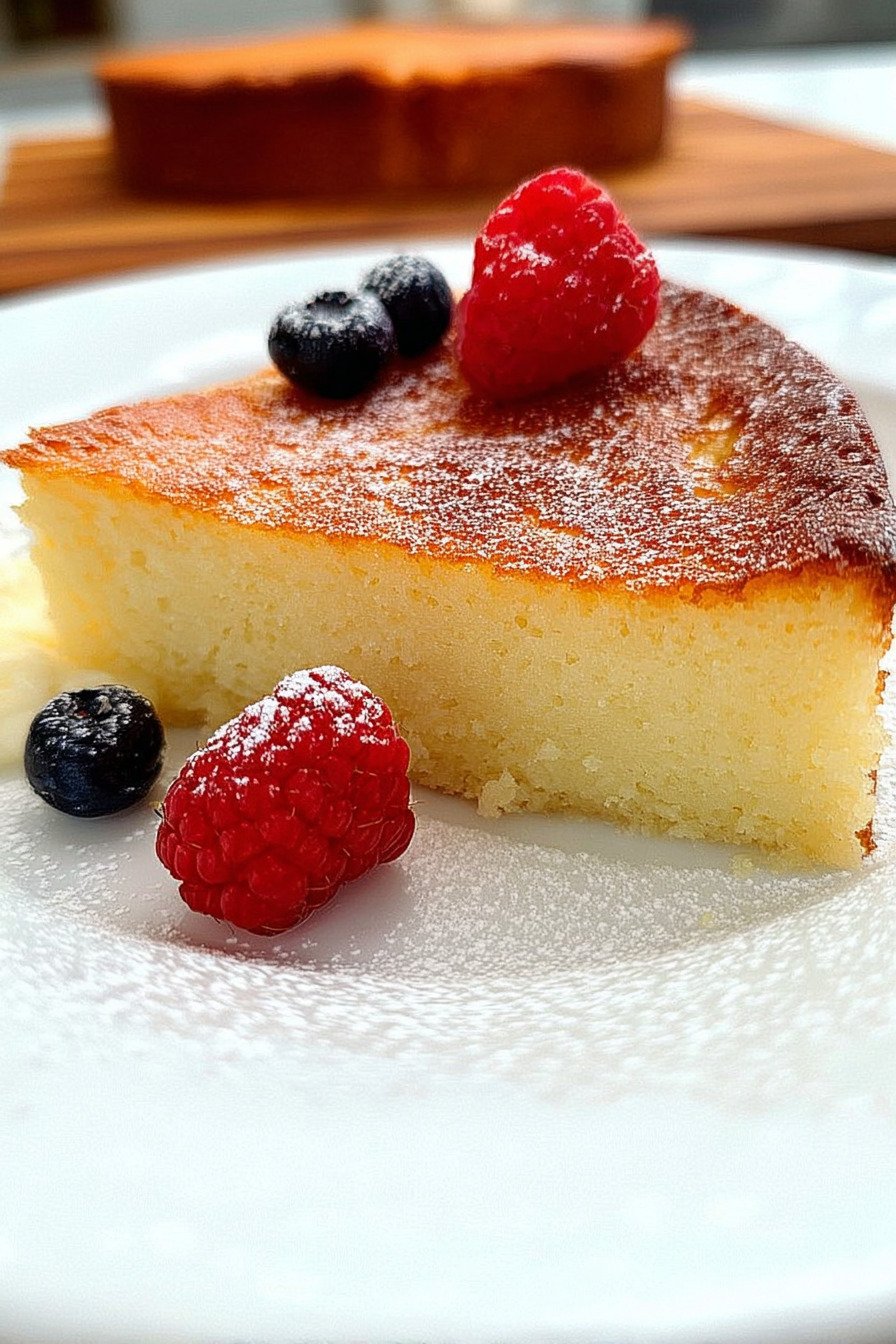
Table of Contents
- 1) Key Takeaways
- 2) Easy Greek Yogurt Cheesecake Recipe
- 3) Ingredients for Greek Yogurt Cheesecake
- 4) How to Make Greek Yogurt Cheesecake
- 5) Tips for Making Greek Yogurt Cheesecake
- 6) Making Greek Yogurt Cheesecake Ahead of Time
- 7) Storing Leftover Greek Yogurt Cheesecake
- 8) Try these Desserts next!
- 9) Greek Yogurt Cheesecake
- 10) Nutrition
1) Key Takeaways
- What makes Greek yogurt cake different from regular cheesecake?
- Can you really make a delicious cake without butter or oil?
- How do you prevent a Greek yogurt cake from cracking?
- What’s the secret to getting that light, fluffy texture?
2) Easy Greek Yogurt Cheesecake Recipe
You know what I love about this cheese cake recipe? It doesn’t require you to be some fancy pastry chef or own a million specialized tools. I’m Linda from Cook Daily Recipe, and I’m here to share this absolute gem of a dessert that’s been making waves in my kitchen lately. This cheese cake recipe uses Greek yogurt as the star ingredient, and trust me when I say it tastes just as good as those expensive cheesecakes from fancy bakeries.
Here’s the thing about this recipe that gets me every single time. It’s quick to put together, probably taking you about fifteen minutes of actual hands on work. The rest is just letting your oven do its magic. I remember the first time I whipped this up for a family dinner, my aunt kept asking what secret ingredients I used. When I told her it was basically just Greek yogurt and eggs, she nearly fell off her chair.
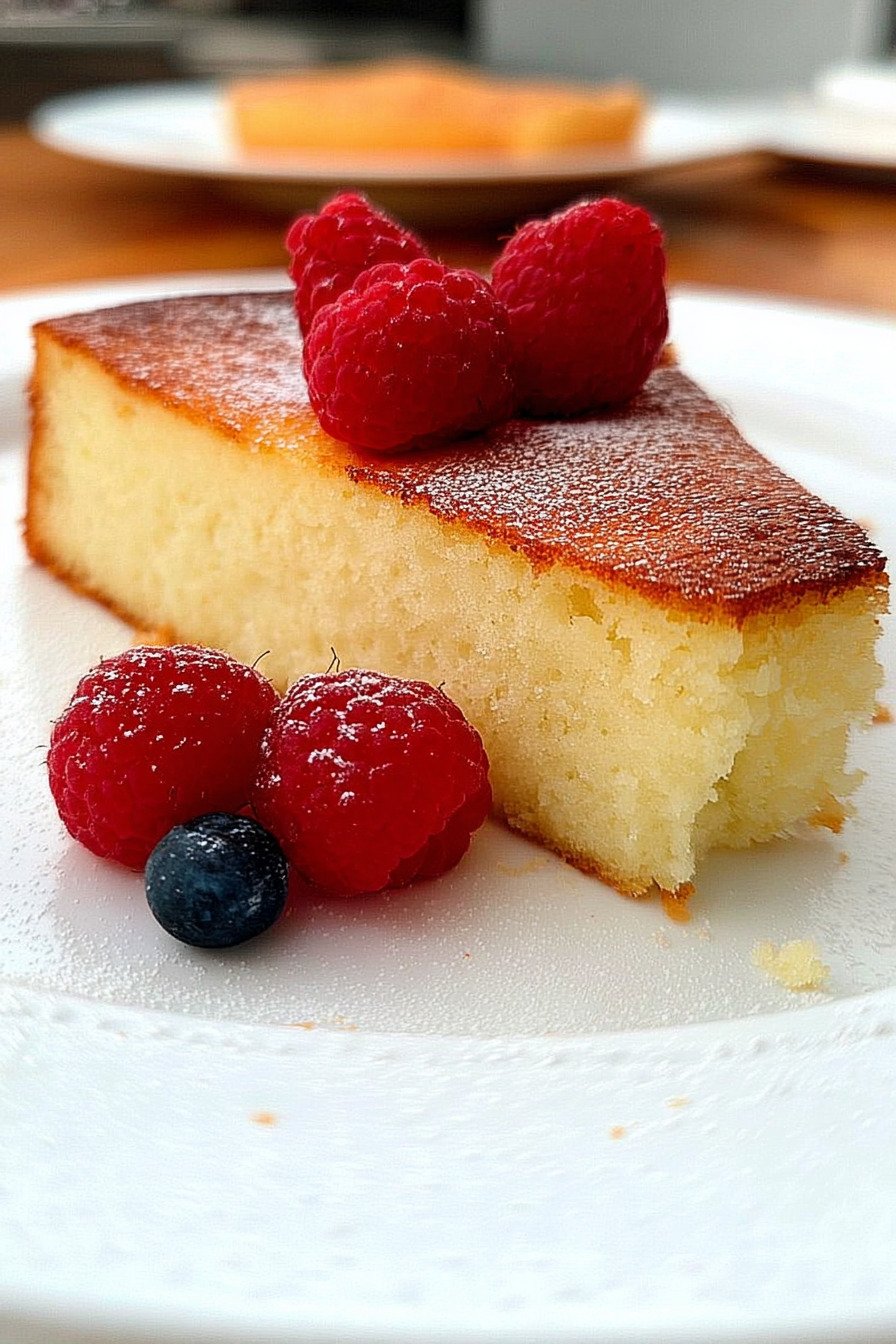
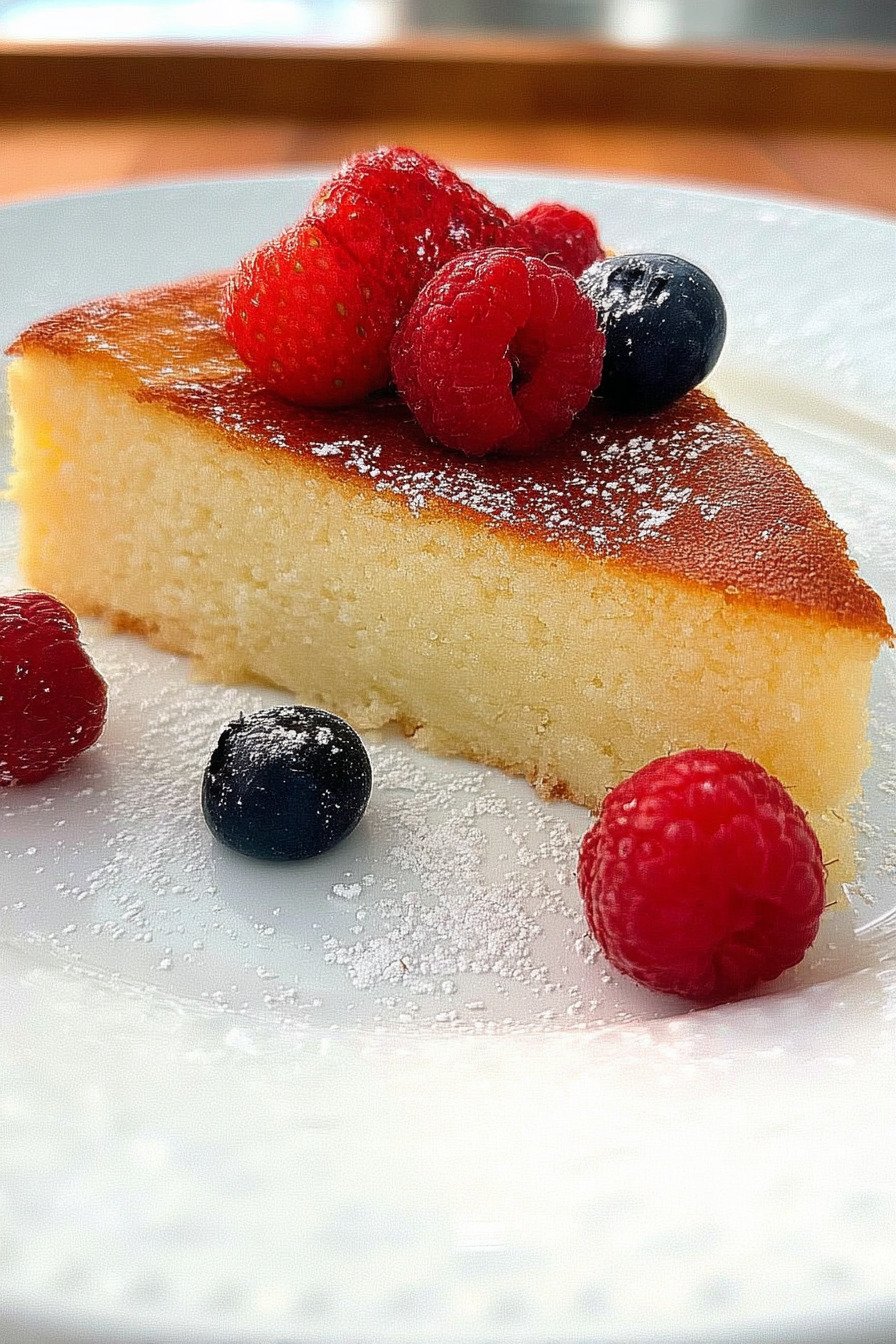
What makes this particular dessert so special is how light it feels. You know that heavy, sometimes overwhelming feeling you get after eating traditional cheesecake? Yeah, this doesn’t do that. It’s got this airy, almost cloud like texture that somehow still manages to be satisfying. I’ve served this at potlucks, birthday parties, and regular Tuesday nights when I just needed something sweet. Every single time, people come back asking for seconds.
The best part about making this Greek yogurt cake? You probably already have most of the ingredients sitting in your fridge right now. No running to specialty stores, no hunting down weird ingredients you’ll only use once. Just simple, everyday stuff that comes together into something pretty spectacular. It’s the kind of recipe that makes you look like a baking genius without having to actually be one.
3) Ingredients for Greek Yogurt Cheesecake
Large Eggs We’re talking four large eggs here, and you’ll need to separate them. I know, I know, separating eggs can feel like a pain, but it’s what gives this cake that incredible lift. The yolks add richness and the whites get whipped into fluffy clouds that make everything light. Pro tip from someone who’s cracked way too many eggs directly into the bowl and regretted it? Separate each egg into a small bowl first, then add it to your main bowl. Saves you from fishing out shell bits or dealing with a bad egg ruining your whole batch.
Greek Yogurt This is where the magic happens. You’ll need about 350 grams, which is roughly 12.5 ounces. I usually grab the full fat kind because it gives you a richer taste, but honestly? Low fat works just fine if you’re watching calories. The yogurt is what makes this cake taste like cheesecake without all the cream cheese. It’s tangy, it’s creamy, it’s perfect. I always keep a big tub of Greek yogurt in my fridge now because I find myself making this cake way more often than I probably should.
Cornstarch About 40 grams or 1.4 ounces does the trick. Some folks ask me if they can skip this or use regular flour instead. The cornstarch is what holds everything together and gives you that smooth, creamy texture. Without it, you’d end up with something closer to scrambled eggs and yogurt, which sounds exactly as appetizing as it is. If you’ve got a corn allergy, I’ve heard tapioca starch works as a substitute, though I haven’t tried it myself yet.
Sugar We’re only using 70 grams, which is about 2.5 ounces. That’s way less than most cake recipes call for. Some people ask if they can use sugar substitutes, and yeah, you totally can. I’ve made this with monk fruit sweetener and it turned out great. My neighbor uses erythritol blend and swears by it. The cake isn’t super sweet to begin with, which I personally love because it lets the tangy yogurt flavor really shine through.
Baking Powder Just half a teaspoon. Funny story about this one? After making this recipe about a dozen times, I actually stopped adding the baking powder and couldn’t tell the difference. The beaten egg whites do such a good job of making everything fluffy that the baking powder feels almost redundant. But hey, if it makes you feel better to include it, go for it. It definitely won’t hurt anything.
Vanilla Extract One teaspoon of pure vanilla extract ties everything together beautifully. I used to be one of those people who thought vanilla extract was just vanilla extract, but then I splurged on the good stuff once and wow, what a difference. You can definitely taste it in simple recipes like this one. That said, the cheap stuff from the grocery store works just fine too. Don’t let anyone make you feel bad about using imitation vanilla. We’re making cake here, not judging each other’s pantry choices.
4) How to Make Greek Yogurt Cheesecake
Step 1 Start by separating your eggs. Put those whites in one bowl and yolks in another. I like using my largest bowl for the egg whites since you’ll be beating them later and they expand like crazy. Make sure not a single drop of yolk gets into your whites. Even the tiniest bit of fat will prevent them from whipping up properly. I learned this the hard way after wondering why my egg whites wouldn’t stiffen up, only to realize I’d been sloppy with my separating.
Step 2 Grab your mixing bowl with the egg yolks and add all that sugar. Now cream them together until they’re pale and fluffy. This usually takes me about two or three minutes with a hand mixer. You want the mixture to lighten in color and get kind of thick and ribbony. This step is where you’re building the base of your cake’s structure, so don’t rush it. I sometimes put on a good song and just let the mixer do its thing.
Step 3 Time to add your Greek yogurt. I dump it all in and mix it up. An immersion blender works great here if you’ve got one, but a regular hand mixer or even a whisk will do the job. Mix until everything’s smooth and there aren’t any yogurt lumps hiding out. The mixture should look creamy and uniform. If you see streaks of white yogurt, keep mixing. This is your chance to make sure everything’s perfectly blended.
Step 4 Add your cornstarch, vanilla extract, and baking powder to the bowl. Mix it all together until there are absolutely no lumps. I usually run my mixer on low speed first to avoid creating a cornstarch cloud in my kitchen. Been there, done that, cleaned cornstarch off my cabinets for days. Once everything’s incorporated, you can speed up the mixer a bit to make sure it’s all smooth.
Step 5 Here’s where things get fun. Beat those egg whites until they form stiff peaks. This means when you lift the beater out, the peaks should stand straight up without flopping over. It usually takes me about five or six minutes with an electric mixer. Your arm will get a workout if you’re doing this by hand. The egg whites should look glossy and white, almost like thick whipped cream. This is what’s going to make your cake light and airy.
Step 6 Now comes the gentle part. Take about a third of your beaten egg whites and fold them into the yogurt mixture. Use a spatula and make big, sweeping motions, cutting down through the center and folding over. You’re trying to lighten up the yogurt mixture a bit. Then add the rest of the egg whites and fold them in carefully. Don’t stir or beat. Fold. You want to keep as much air in there as possible. A few white streaks are okay. Better to undermix slightly than to beat out all that beautiful air you just whipped in.
Step 7 Line your 7 by 11 inch baking dish with parchment paper. I like to cut the paper so it hangs over the sides a bit. Makes it super easy to lift the whole cake out later. Pour your batter into the prepared pan and give it a gentle shake to level it out. If you see any big air bubbles on the surface, you can pop them with a toothpick, but don’t go crazy with it.
Step 8 Pop that beauty into a preheated 350°F oven. Set your timer for 45 minutes. Now here’s a tip I wish someone had told me the first time I made this. If you notice the top getting too dark around the 40 minute mark, just tent it loosely with aluminum foil. Every oven is different, and mine runs a bit hot, so I usually check around 35 minutes just to be safe.
Step 9 When your timer goes off, turn off the oven but don’t open that door. Just leave the cake sitting in there to cool down slowly. This is the secret to preventing cracks. The gradual temperature change keeps the cake from shocking and splitting. I usually leave mine in there for at least an hour, sometimes two if I forget about it. The cake will deflate a bit as it cools, and that’s totally normal. It’s supposed to do that.
5) Tips for Making Greek Yogurt Cheesecake
Room temperature eggs work better than cold ones when you’re trying to beat egg whites to stiff peaks. I take mine out of the fridge about 30 minutes before I start baking. If you forget, you can put them in a bowl of warm water for a few minutes to take the chill off. Cold egg whites take forever to whip up properly, and sometimes they just won’t get as fluffy as you need them to be.
The whole cooling in the oven thing might seem weird, but it really does make a difference. I skipped this step once because I was in a hurry to get the cake to a friend’s house. The top cracked so badly it looked like a dried up riverbed. Still tasted amazing, but it wasn’t pretty. If you want that smooth top for presentation, just be patient and let it cool slowly. You can even crack the oven door open slightly after an hour if you’re impatient like me.
Don’t skip the parchment paper. I tried using just cooking spray once and regretted it big time. The cake stuck to the pan something fierce. With parchment paper, the whole thing just lifts right out clean. You can find it at any grocery store, and one box lasts forever. Cut it to fit your pan with a bit hanging over the edges, and you’ll thank yourself later when it’s time to serve.
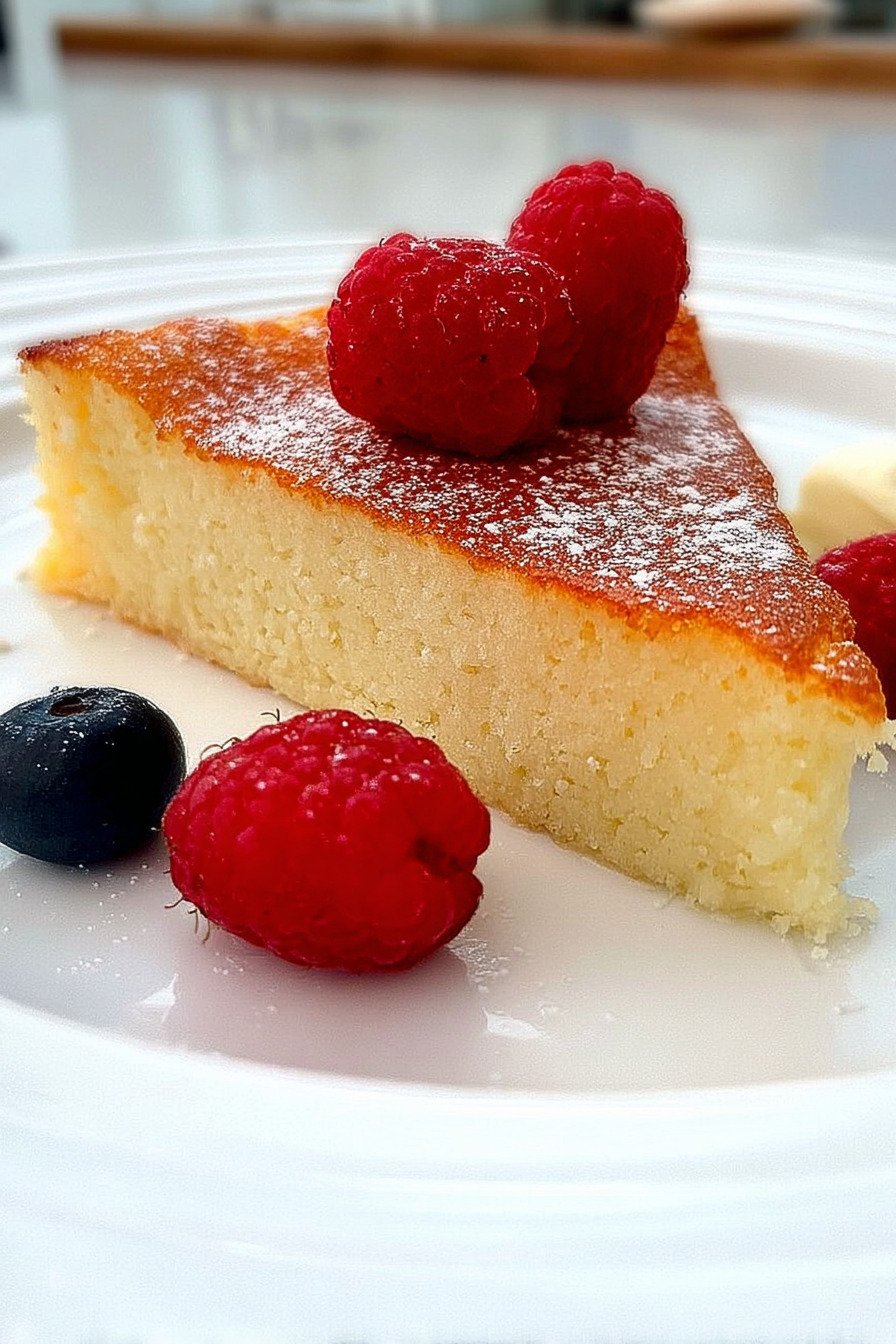
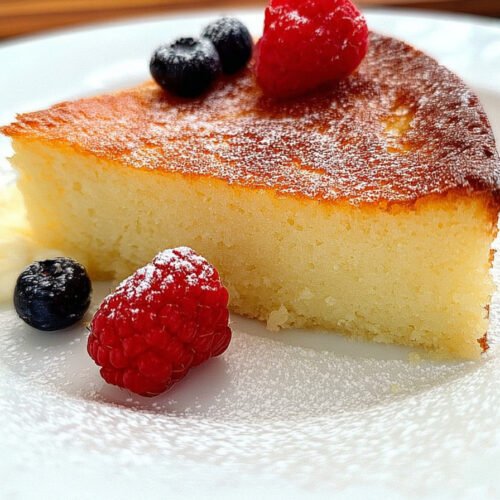
If your cake deflates more than you’d like, don’t panic. That’s just how this type of cake works. It rises up all puffy and gorgeous in the oven, then settles down as it cools. Some people actually prefer it this way because it gets denser and more cheesecake like. You can always dress it up with some fresh berries or a dusting of powdered sugar if you’re feeling self conscious about the appearance.
Weighing your ingredients makes a bigger difference than you might think. I resisted getting a kitchen scale for the longest time, thinking my measuring cups were good enough. Then I got one as a gift and holy cow, my baking improved overnight. Especially with things like cornstarch and sugar, where packing and humidity can affect cup measurements. A scale takes all the guesswork out and costs less than a fancy coffee.
6) Making Greek Yogurt Cheesecake Ahead of Time
This cake actually tastes better the next day. Something about letting all those flavors hang out together in the fridge overnight just makes everything more cohesive. I usually make mine the night before if I’m taking it somewhere. Pop it in an airtight container once it’s completely cool, and stick it in the fridge. It’ll be perfectly chilled and ready to slice by the time you need it.
You can make this up to three days ahead without any quality issues. After that, it’s still safe to eat, but the texture starts getting a bit weird. The edges can dry out if you don’t keep it well covered. I learned this after making one on Monday for a Friday party and wondering why the edges were a bit tough. Now I know my limit is three days max.
If you want to get really fancy, you can make the batter ahead and keep it in the fridge for a few hours before baking. I’ve done this when I needed my oven for something else first. Just give it a gentle stir before pouring it into the pan since the ingredients might separate slightly. The cake turns out just as good as if you’d baked it immediately.
One thing I don’t recommend is freezing this before baking. The egg whites lose all their structure in the freezer, and you end up with a flat, dense cake instead of a light, fluffy one. If you want to freeze it, wait until after it’s baked and cooled. Wrap it really well in plastic wrap, then foil, and it’ll keep in the freezer for about a month. Let it thaw in the fridge overnight before serving.
7) Storing Leftover Greek Yogurt Cheesecake
Leftovers keep really well in the fridge for about a week. Just make sure you’re storing them in an airtight container. I slice mine up and stack the pieces with parchment paper between each slice so they don’t stick together. Makes it easy to grab a piece whenever I need a little sweet treat. My husband likes to sneak a slice with his morning coffee, and honestly, I can’t blame him.
The texture might change slightly after a few days in the fridge. It gets a bit denser and more compact, which some people actually prefer. My sister in law swears the cake is better on day five than day one. She likes that firmer, more substantial texture. I’m partial to it fresh, but I won’t turn down a slice at any stage. It’s all delicious, just in slightly different ways.
If you want to freeze leftovers, wrap individual slices in plastic wrap and put them in a freezer bag. They’ll keep for about a month. When you want one, just move it to the fridge to thaw overnight. Don’t try to thaw it at room temperature or in the microwave. The texture gets all weird and watery. Trust me, I’ve tried every shortcut possible because I’m impatient, and slow thawing in the fridge is definitely the way to go.
This cheese cake recipe is one of those rare desserts that actually holds up well over time. I’ve had friends tell me they kept a slice in their fridge for ten days and it was still good. I’ve never made it that long without eating it all, but good to know in case you’ve got better self control than I do. The Greek yogurt seems to keep everything fresh longer than regular cheesecake does.
8) Try these Desserts next!

9) Greek Yogurt Cheesecake
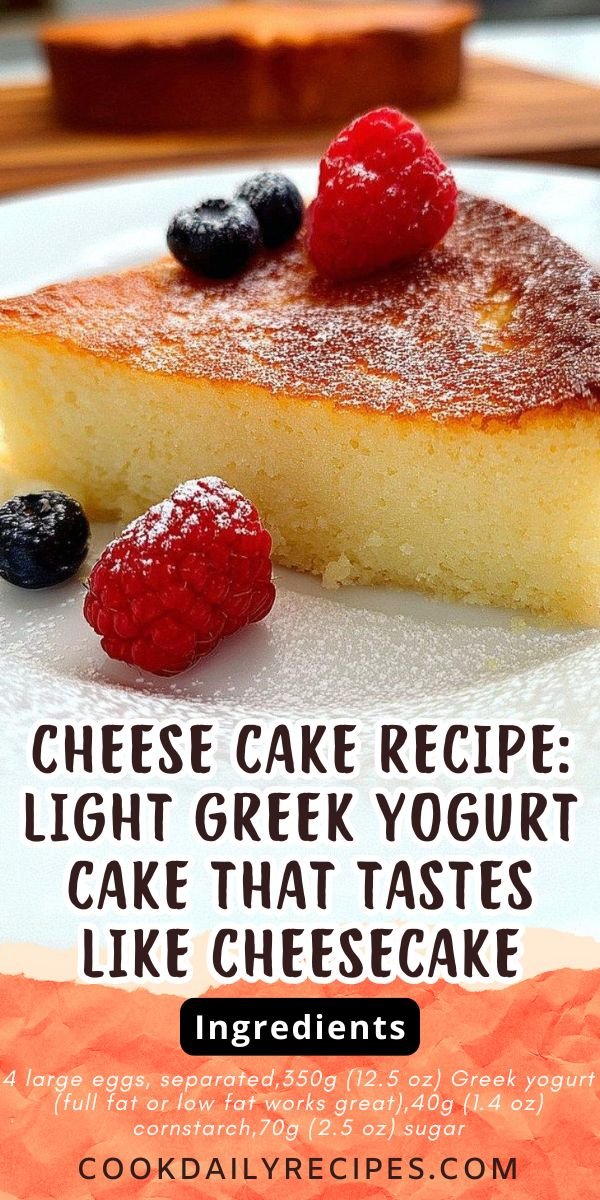
Cheese Cake Recipe: Guilt-Free Greek Yogurt Cake That Tastes Like Heaven
Ingredients
- 4 large eggs, separated
- 350g (12.5 oz) Greek yogurt (full fat or low fat works great)
- 40g (1.4 oz) cornstarch
- 70g (2.5 oz) sugar
- 1/2 tsp baking powder
- 1 tsp vanilla extract
Instructions
- Start by separating your eggs. Put those yolks in one bowl, whites in another. Trust me on this.
- Grab a mixing bowl and cream together the sugar and egg yolks. Beat them till they’re nice and pale.
- Now fold in your Greek yogurt. I like using an immersion blender here, makes everything super smooth.
- Mix in the cornstarch, vanilla, and baking powder. Keep mixing till there are no lumps hiding in there.
- Here’s where the magic happens. Beat those egg whites till they form stiff peaks. They should stand up proud when you lift the beater.
- Gently fold the beaten egg whites into your yogurt mixture. Be gentle here, we want to keep all that air we just whipped in.
- Line your 7 by 11 inch baking dish with parchment paper. Makes cleanup so much easier later.
- Pour your batter into the prepared dish and smooth out the top.
- Pop it into a preheated 350°F oven and bake for 45 minutes. If the top starts getting too dark around the 40 minute mark, just cover it loosely with foil.
- When time’s up, turn off the oven but leave the cake inside to cool completely. This step is key to preventing cracks.
10) Nutrition
Serving Size: 1/8 of cake, Calories: 256, Sugar: 9 g, Sodium: 82 mg, Fat: 12.8 g, Saturated Fat: 3.2 g, Carbohydrates: 35.3 g, Fiber: 0 g, Protein: 11.8 g, Cholesterol: 185 mg


Leave a Comment