
I’ll be honest with you. There’s something magical about pulling a perfectly golden loaf from your oven, watching that steam rise, and hearing that satisfying crackle of the crust. This easy French bread recipe changed my baking game completely, and I’m not even exaggerating. You know those days when you want fresh bread but can’t justify the bakery prices? Or when you’re craving that warm, crusty goodness but don’t have hours to spend? That’s exactly where this recipe shines. We’re talking about a simple process that gives you bakery-quality results without the intimidation factor. The 12 grain bread recipe might sound fancy, but trust me, if I can make this work on a Tuesday evening after a long day, you definitely can too. What I love most is how forgiving this dough is. Whether you’re trying your first 1 hour bread recipe or you’ve been at this for years, there’s something satisfying about working with your hands and creating something from scratch. The 10 minute bread recipe prep time means you’re not chained to your kitchen, and the beer bread recipe variations you can try later will blow your mind. Think of this as your gateway into baking bread recipes that actually work. The bread dough recipe forms easily, rises beautifully, and bakes up with that golden crust we all dream about. No fancy equipment needed, just your hands, basic ingredients, and a willingness to try.
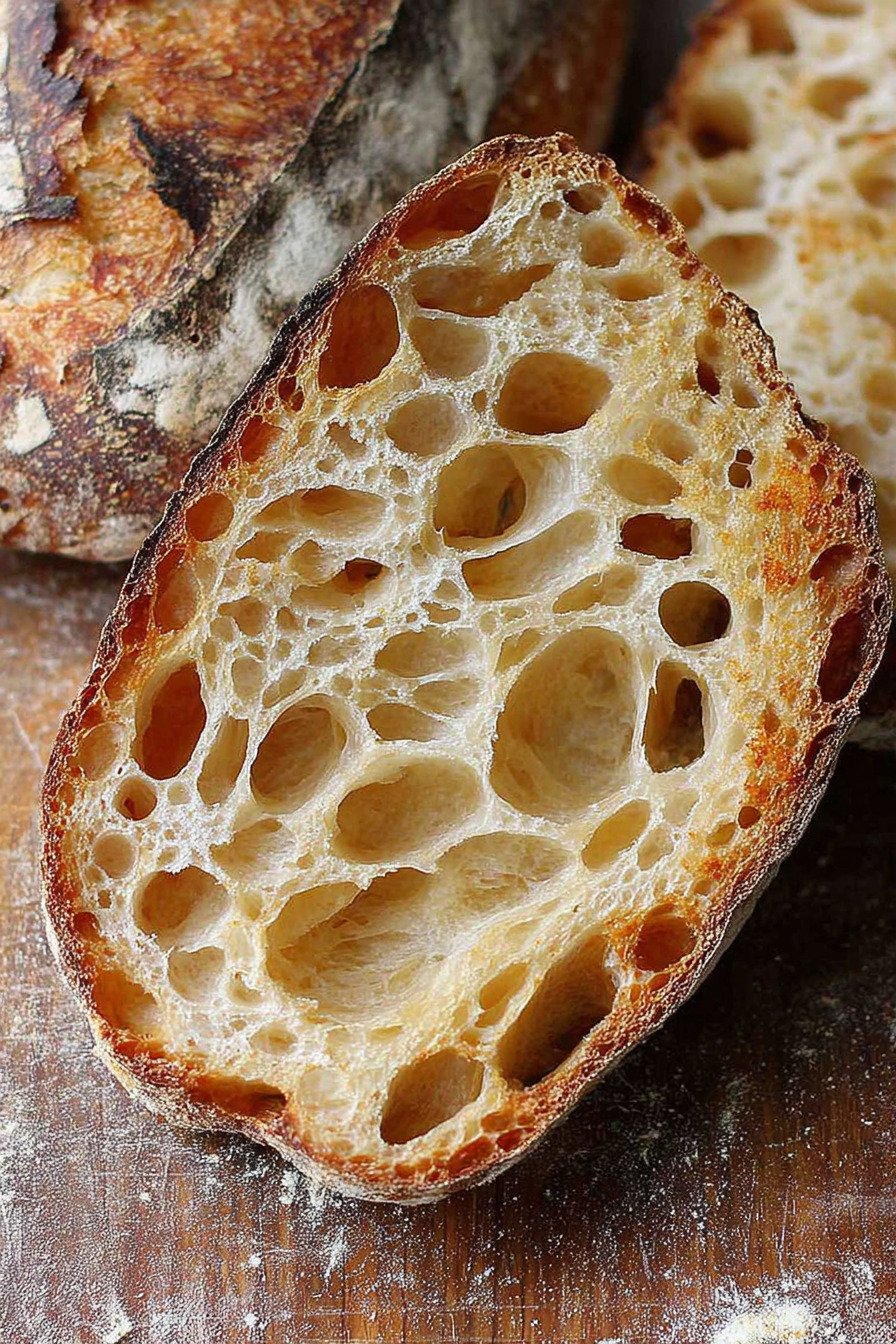
Table of Contents
- 1) Key Takeaways
- 2) Easy French Bread Recipe
- 3) Ingredients for Easy French Bread
- 4) How to Make Easy French Bread
- 5) Tips for Making Easy French Bread
- 6) Making Easy French Bread Ahead of Time
- 7) Storing Leftover Easy French Bread
- 8) Try these Bread recipes next!
- 9) Easy French Bread Recipe
- 10) Nutrition
1) Key Takeaways
- Can you make French bread with just basic pantry ingredients?
- What’s the secret to getting that perfect crispy crust at home?
- How long does homemade French bread actually take from start to finish?
- What are the common mistakes people make when baking French bread?
2) Easy French Bread Recipe
Let me tell you something about this easy french bread recipe. I used to think making bread at home was way too complicated, reserved only for people who had fancy mixers and tons of free time. Boy, was I wrong. This easy french bread recipe completely changed my mind about home baking, and I’m pretty sure it’ll do the same for you.
What makes this different from your typical 12 grain bread recipe or any complicated artisan method? Simple. We’re keeping things real here. No special equipment. No overnight fermentation unless you want to. Just you, your hands, and some basic ingredients that you probably already have sitting in your pantry right now. When I first tried making this, I was shocked at how similar the results were to what I’d pay five bucks for at the bakery.
The best part? This isn’t one of those recipes where you’re stuck in the kitchen all day. Sure, there’s some waiting time while the dough rises, but actual hands on work? We’re talking maybe 20 minutes tops. You can knock out this 1 hour bread recipe (well, closer to two hours with rising time, but who’s counting?) on a lazy Sunday afternoon or even squeeze it in on a weeknight if you plan ahead a bit.
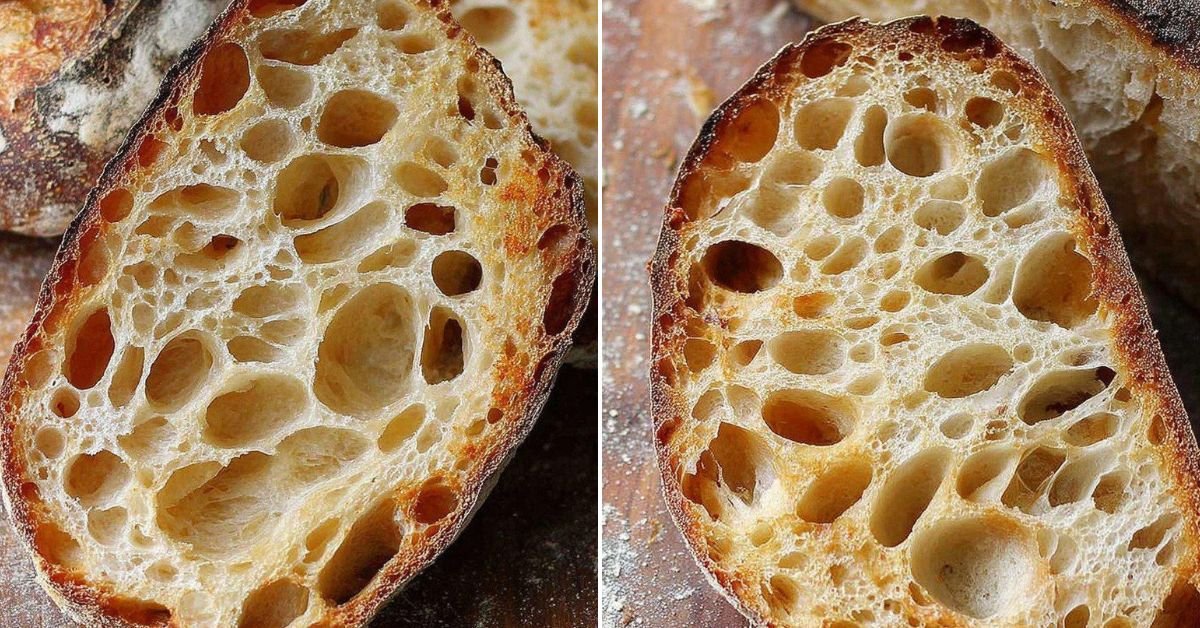
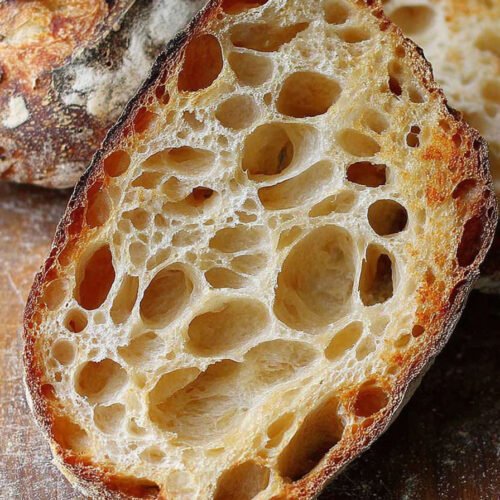
People always ask me what the difference is between this and a quick 10 minute bread recipe. Here’s the thing. Those ultra quick versions are great when you’re in a pinch, but this method gives you that authentic texture and flavor that makes people think you’ve been baking for years. It’s got that crispy, golden exterior that cracks when you break it open, and inside? Soft, pillowy perfection with those beautiful air pockets.
I’ve tried my fair share of baking bread recipes over the years, from dense beer bread recipe experiments to fancy sourdough starters that I eventually killed (oops), and this bread dough recipe is hands down the most reliable one I’ve found. It just works. Every single time. Whether you’re a complete beginner or you’ve been baking for years, you’ll get consistent results that make you look like a total pro.
3) Ingredients for Easy French Bread
All Purpose Flour: This is your foundation, your base, your everything. I always keep a big bag of all purpose flour in my pantry because it’s so versatile. You’ll need about 4 cups for this recipe, but keep some extra handy for dusting your work surface. Don’t stress about getting fancy bread flour unless you really want to. Regular all purpose works beautifully and gives you that tender crumb we’re after. I’ve made this bread probably fifty times now, and I’ve never once felt like I needed to upgrade to bread flour.
Warm Water: Temperature matters here, folks. We’re aiming for about 110°F, which is just warm to the touch. Too hot and you’ll kill your yeast (trust me, I’ve done it), too cold and your dough will take forever to rise. If you don’t have a thermometer, just think baby bottle temperature. That’s the sweet spot. I usually just run my tap water until it feels warm but not hot, and that works perfectly fine.
Active Dry Yeast: This little packet of magic is what makes your bread rise and develop that amazing flavor. One standard packet is 2 1/4 teaspoons, which is exactly what we need. Make sure your yeast isn’t expired. I learned this lesson the hard way when my dough sat there like a lump refusing to budge. Fresh yeast is happy yeast, and happy yeast makes happy bread. Store it in your fridge or freezer to keep it fresh longer.
Sugar: Just one teaspoon does the trick here. The sugar isn’t really about making your bread sweet. It’s food for the yeast, helping it wake up and get to work. When you mix the sugar with the warm water and yeast, you’ll see the mixture get all foamy after a few minutes. That’s how you know your yeast is alive and ready to party. Some people skip the sugar, but I find it really helps jumpstart the whole process.
Salt: Two teaspoons might seem like a lot, but bread without enough salt tastes flat and boring. The salt does more than just add flavor, though. It actually helps control the yeast and strengthens the gluten structure in your dough. I use regular table salt, but if you’re using kosher salt, you might want to add a bit more since the crystals are larger and less dense.
Olive Oil: This adds a subtle richness and helps keep your bread from drying out too quickly. Two tablespoons is all you need. I’ve tried making this without oil before when I ran out, and the bread was fine but definitely not as tender. The oil also makes the dough easier to work with and less sticky. Any neutral oil works if you don’t have olive oil, but I really do prefer the slight flavor that olive oil brings.

4) How to Make Easy French Bread
Step 1. Get your yeast going by combining it with the warm water and sugar in a small bowl. This is called proofing the yeast, and it’s your insurance policy that everything’s going to work out. Just walk away for about 5 to 10 minutes and let it do its thing. You’ll know it’s ready when the surface gets foamy and smells pleasantly yeasty. If nothing happens after 10 minutes, your yeast might be dead and you’ll need to start over with fresh yeast.
Step 2. While your yeast is waking up, grab your largest mixing bowl and combine the flour and salt. Give it a quick stir to distribute the salt evenly throughout the flour. This might seem picky, but if you add the salt directly to the yeast mixture, it can slow down the yeast’s activity. We want our yeast working at full speed here. Make a little well in the center of your flour mixture like you’re building a volcano in science class.
Step 3. Pour your foamy yeast mixture and the olive oil right into that well you created. Now comes the fun part. Start mixing everything together with a wooden spoon or your hands. I prefer hands because you can really feel when the dough comes together. At first it’ll look shaggy and messy, and you might wonder if you did something wrong. You didn’t. Just keep mixing until all the flour is incorporated and you’ve got a rough dough ball.
Step 4. Turn your dough out onto a floured counter or cutting board. This is where we build the structure that gives bread its texture. Knead the dough by pushing it away from you with the heels of your hands, then folding it back over itself and rotating it a quarter turn. Keep this rhythm going for about 8 to 10 minutes. Your arms might get tired, and that’s okay. The dough will transform from sticky and rough to smooth and elastic. When you poke it, it should bounce back slowly.
Step 5. Lightly oil a clean bowl and plop your dough ball in there. Turn it around so the whole surface gets coated with oil, then cover the bowl with a clean kitchen towel or plastic wrap. Find a warm spot in your kitchen. I usually put mine on top of the fridge or near a sunny window. Now you wait. About an hour should do it, but times can vary depending on how warm your kitchen is. You’re looking for the dough to roughly double in size.
Step 6. Once your dough has puffed up nicely, punch it down. Seriously, just give it a good punch right in the center. This releases all the gas that’s built up and redistributes the yeast. Turn the dough out onto your work surface and shape it into an oval loaf. I like to tuck the edges under to create surface tension, which helps the bread hold its shape as it bakes. Place your shaped loaf on a baking sheet lined with parchment paper or lightly greased.
Step 7. Cover your loaf loosely with that kitchen towel again and let it rise for another 30 minutes. Meanwhile, crank your oven up to 400°F so it’s nice and hot when you’re ready to bake. This second rise is called proofing, and it gives your bread that light, airy texture. Don’t skip it even though you’re probably getting impatient by now. I know I always am.
Step 8. Right before your bread goes into the oven, take a sharp knife or a razor blade and make a few diagonal slashes across the top of the loaf. This isn’t just for looks, though it does make your bread look super professional. These cuts give the bread room to expand in the oven without tearing randomly. Slide your pan into the hot oven and set your timer for 25 to 30 minutes. You’ll know it’s done when the crust is deep golden brown and the bread sounds hollow when you tap the bottom.
Step 9. This is the hardest step, I’m not gonna lie. Transfer your beautiful, golden loaf to a wire rack and let it cool for at least 15 minutes before slicing. I know the smell is absolutely killing you right now and you want to tear into it immediately. But cutting into hot bread will give you a gummy texture inside. The cooling time lets the interior finish setting up. Once it’s cooled a bit, slice and enjoy that crispy crust and soft, fluffy interior you just created.
5) Tips for Making Easy French Bread
Water temperature can make or break your bread. Too hot and you’ll kill the yeast before it even gets started. I learned this the hard way when I was rushing one day and used water straight from the kettle. My dough never rose and I ended up with an expensive doorstop. The ideal temperature is between 105°F and 115°F. If you don’t have a thermometer, test the water on the inside of your wrist like you would for a baby’s bottle. It should feel warm but comfortable, not hot.
Measuring flour correctly makes a huge difference in how your bread turns out. When you scoop flour directly with your measuring cup, you pack in way more flour than the recipe calls for, and your bread will be dense and dry. Instead, fluff up your flour with a spoon, then spoon it into your measuring cup and level it off with a knife. Or better yet, if you have a kitchen scale, weigh your flour. Four cups of flour should weigh about 480 grams.
The first rise can take anywhere from 45 minutes to 2 hours depending on your kitchen temperature. Don’t panic if yours takes longer than an hour. Yeast moves slower in cooler temperatures. I’ve put dough in a turned off oven with just the light on to create a nice warm environment. Some people put their bowl near a space heater or on top of the fridge. Just find a warm spot without drafts and be patient. The dough will tell you when it’s ready by doubling in size.
Kneading develops the gluten strands that give bread its structure and chew. Under kneaded bread will be dense and crumbly, while properly kneaded bread has that nice springy texture. You’ll know you’ve kneaded enough when the dough is smooth, elastic, and springs back when you poke it. If you’re not sure, there’s a test called the windowpane test. Take a small piece of dough and stretch it thin. If you can stretch it until it’s almost translucent without it tearing, your gluten is well developed.
Steam in your oven during the first few minutes of baking helps create that crispy, crackly crust that makes French bread so special. Professional bakers have fancy steam injection ovens, but you can fake it at home pretty easily. Put a metal pan on the bottom rack of your oven while it preheats. When you put your bread in to bake, carefully pour a cup of hot water into that pan and quickly close the oven door. The steam that creates will give you bakery quality crust.
Slashing the top of your loaf before baking serves a real purpose beyond just looking pretty. As bread bakes, it expands rapidly in what’s called oven spring. If you don’t give it a place to expand, it’ll tear randomly on the sides or bottom. Use a very sharp knife or a razor blade and make quick, confident cuts at about a 45 degree angle. Don’t saw back and forth. Just one smooth motion for each slash. The deeper you cut, the more your bread will open up and create those beautiful ears along the cuts.
6) Making Easy French Bread Ahead of Time
Here’s a secret that’ll change your bread baking game. You can make the dough ahead and stick it in the fridge to rise slowly overnight. This is called cold fermentation, and it actually improves the flavor of your bread. After you’ve kneaded the dough, just put it in an oiled bowl, cover it tightly with plastic wrap, and refrigerate it for up to 24 hours. The yeast will still work, just much more slowly, developing more complex flavors as it goes.
When you’re ready to bake, take the dough out of the fridge and let it come to room temperature for about 30 minutes to an hour. It might not look like it’s risen much in the fridge, and that’s totally normal. Cold dough is sluggish. Once it warms up, shape it into a loaf and do your second rise as normal. I love this method when I’m having people over for dinner. I can make the dough the night before and just bake it fresh that day.
You can even freeze the dough if you want to plan even further ahead. After the first rise, punch down the dough, shape it into a ball, and wrap it tightly in plastic wrap and then aluminum foil. It’ll keep in the freezer for up to 3 months. When you want to use it, move it to the fridge to thaw overnight, then let it come to room temperature and proceed with shaping and the second rise.
Another option is to bake your bread completely and freeze the finished loaf. Let it cool totally, then wrap it up tight. Frozen baked bread will last for about 3 months. To refresh it, let it thaw at room temperature for a few hours, then pop it in a 350°F oven for about 10 minutes. It’ll taste almost as good as fresh from the oven. I’ve done this before holidays when I know I’ll be too busy to bake day of.
If you’re really in a time crunch, you can do a quick rise in a warmer environment to speed things along. Put your covered bowl in a turned off oven with a pan of hot water on the bottom rack. The warmth and humidity will help your dough rise faster, sometimes cutting the time in half. Just keep an eye on it so it doesn’t over proof. You want doubled, not tripled.
7) Storing Leftover Easy French Bread
Fresh bread doesn’t have the preservatives that store bought bread has, so it won’t last as long. But that’s kind of the point, right? You’re eating real food without all that extra stuff. At room temperature in a bread box or paper bag, your French bread will stay good for about 2 to 3 days. The crust will soften a bit after the first day, but that’s just how homemade bread works. The inside will still be delicious.
Don’t store your bread in plastic bags or airtight containers at room temperature. I made this mistake once and ended up with soggy, weird textured bread. The moisture gets trapped and makes everything go downhill fast. Paper bags are your friend here. They let the bread breathe just enough without drying it out completely. A bread box works great too. Some people wrap their bread in a clean kitchen towel, which also does the trick.
If you’re not going to eat your bread within a couple days, freezing is your best bet. Slice it first before freezing so you can take out just what you need. Wrap the whole loaf or individual slices tightly in plastic wrap, then put everything in a freezer bag. Get as much air out as possible. Frozen bread will keep its quality for about 3 months. Just toast frozen slices straight from the freezer, or let them thaw at room temperature for about 20 minutes.
Never, and I mean never, refrigerate your bread. The fridge is actually the worst place for bread because of something called retrogradation. The starch molecules recrystallize faster at refrigerator temperatures, making your bread go stale quicker than it would at room temperature. I know it seems like the fridge would keep things fresh, but with bread, it’s the opposite. Room temperature or freezer. Those are your only good options.
If your bread has gone a bit stale but isn’t moldy, don’t toss it. Stale French bread is perfect for making croutons, bread crumbs, or French toast. I actually keep a bag in my freezer just for collecting stale bread pieces. When I have enough, I’ll make a big batch of homemade croutons or breadcrumbs. You can also revive slightly stale bread by sprinkling it with a little water and warming it in a 300°F oven for about 10 minutes.
8) Try these Bread recipes next!


9) Easy French Bread Recipe
Easy French Bread Recipe That’ll Make You Look Like a Pro Baker
Ingredients
- 4 cups all-purpose flour (plus extra for dusting)
- 1 1/2 cups warm water at 110°F
- 2 1/4 teaspoons active dry yeast (that’s 1 standard packet)
- 1 teaspoon sugar
- 2 teaspoons salt
- 2 tablespoons olive oil
Instructions
- Start by waking up your yeast. Mix that warm water with the sugar and yeast in a bowl, then let it sit there doing its thing for about 5 to 10 minutes. You’ll know it’s ready when it gets all foamy on top, kind of like a tiny cappuccino.
- Grab your biggest bowl and toss in the flour and salt. Make a little well in the center, then pour in your bubbly yeast mixture and that olive oil. Now here comes the fun part: get your hands in there and start mixing everything together until it forms a shaggy dough.
- Turn that dough out onto a floured surface and knead it for about 8 to 10 minutes. You’re looking for smooth and elastic here. Don’t worry if your arms get tired, that’s just part of the deal. The dough should bounce back a bit when you poke it.
- Pop your dough into a lightly oiled bowl, turn it around so it gets coated, then cover it with a clean kitchen towel. Let it hang out somewhere warm for about an hour. It should double in size, which honestly never stops being cool to watch.
- Once it’s puffed up nicely, punch it down (so satisfying!), then shape it into a nice oval loaf. Place it on a baking sheet that you’ve either greased or lined with parchment paper.
- Let your shaped loaf rise again for another 30 minutes. Meanwhile, crank your oven up to 400°F so it’s nice and hot when you’re ready.
- Right before baking, use a sharp knife to slash the top of your loaf a few times. This isn’t just for looks, it helps the bread expand properly. Slide it into your hot oven and bake for 25 to 30 minutes until it’s golden brown and sounds hollow when you tap the bottom.
- Here’s the hardest part: let it cool on a wire rack for at least 15 minutes before you slice into it. I know the temptation is real, but trust me on this one.
10) Nutrition
Serving Size: 1 slice (1/12 of loaf) | Calories: 180 | Sugar: 1 g | Sodium: 250 mg | Fat: 3 g | Saturated Fat: 0.5 g | Carbohydrates: 34 g | Fiber: 2 g | Protein: 5 g | Cholesterol: 0 mg


Leave a Comment