

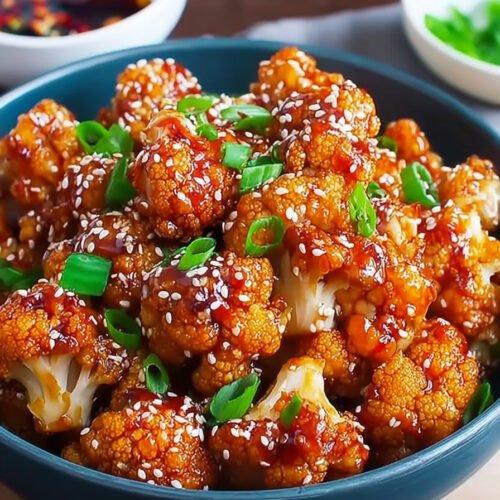
I’ll be honest with you – I used to think cauliflower was boring. That was before I discovered this sticky sesame magic that transforms humble cauliflower florets into something absolutely addictive. This recipe combines the best of low carb vegetarian recipes with flavors that’ll knock your socks off. What makes this dish special? We’re talking about perfectly crispy cauliflower (baked, not fried!) smothered in a glossy sesame sauce that’s sweet, savory, and just sticky enough to coat every bite. I’ve been making this for years now, and it never fails to impress dinner guests who swear they don’t like vegetables. The genius lies in the simplicity. While other low carb cauliflower recipes can feel like they’re trying too hard, this one just works. The batter creates an incredible crunch, and that sauce? Let’s just say I’ve caught people licking their plates clean (don’t judge). Whether you’re exploring tasty vegetarian recipes or just want something that tastes like your favorite takeout but won’t leave you in a food coma, this is your new go-to dish.
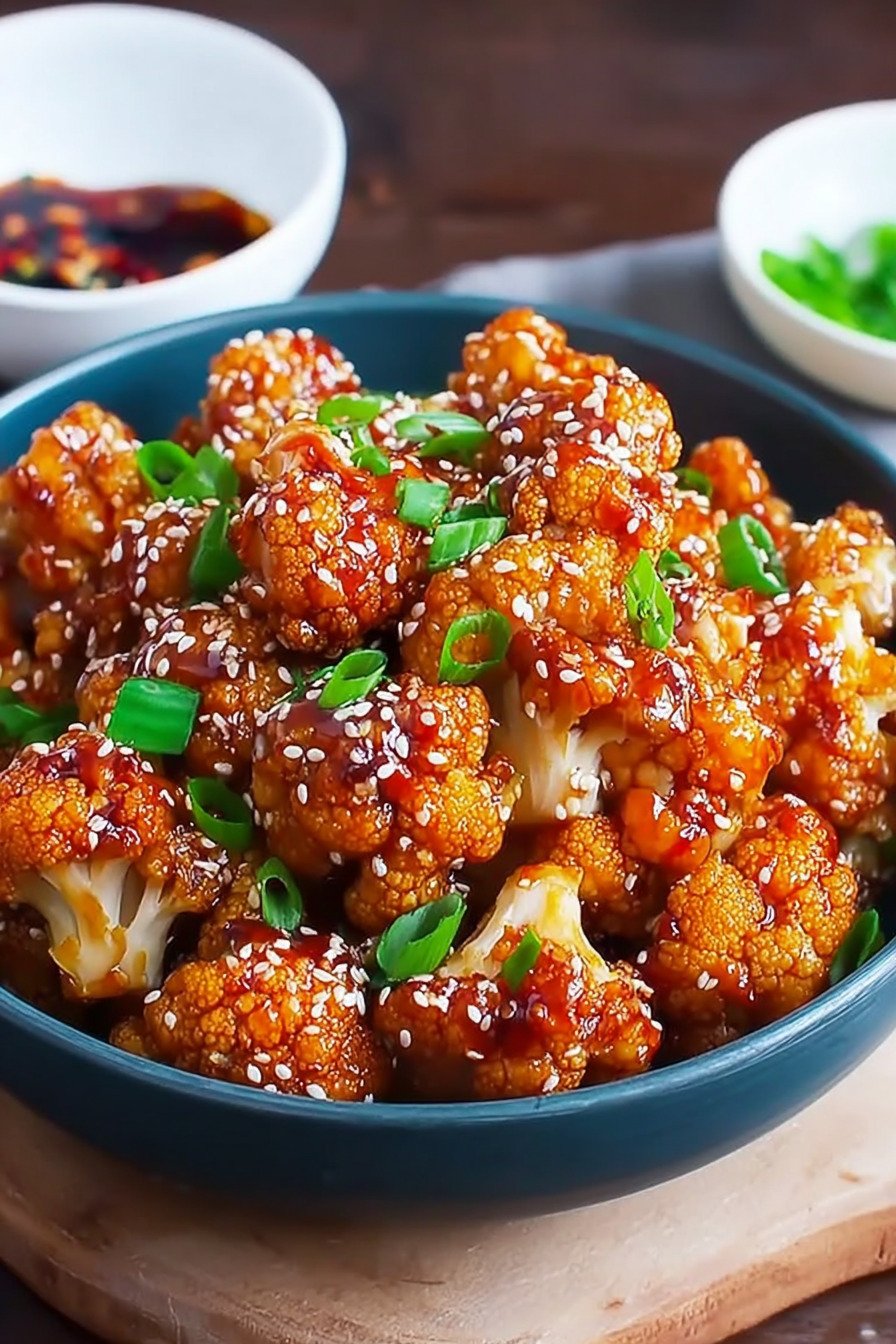
Table of Contents
- 1) Key Takeaways
- 2) Easy Sticky Sesame Cauliflower Recipe
- 3) Ingredients for Sticky Sesame Cauliflower
- 4) How to Make Sticky Sesame Cauliflower
- 5) Tips for Making Sticky Sesame Cauliflower
- 6) Making Sticky Sesame Cauliflower Ahead of Time
- 7) Storing Leftover Sticky Sesame Cauliflower
- 8) Try these Main Course next!
- 9) Sticky Sesame Cauliflower
- 10) Nutrition
1) Key Takeaways
- What makes sticky sesame cauliflower so crispy without frying?
- Can you make this recipe gluten-free and still get great texture?
- How do you prevent the cauliflower from getting soggy after adding sauce?
- What’s the secret to getting restaurant-quality sticky sesame sauce at home?
2) Easy Sticky Sesame Cauliflower Recipe
Let me tell you something about this sticky sesame cauliflower recipe – it’s one of those low carb vegetarian recipes that’ll make you question everything you thought you knew about vegetables. I’ve been making this for my family for three years now, and my kids still ask for it at least twice a week. That’s saying something coming from two teenagers who used to think vegetables were punishment food.
What sets this apart from other low carb vegetarian recipes is the texture game we’re playing here. We’re getting that perfect crispy exterior without a single drop of oil for frying. The secret lies in our batter technique and the high heat of the oven. Trust me, I’ve tried making this at 375°F thinking I was being smart, and it just doesn’t work the same way.
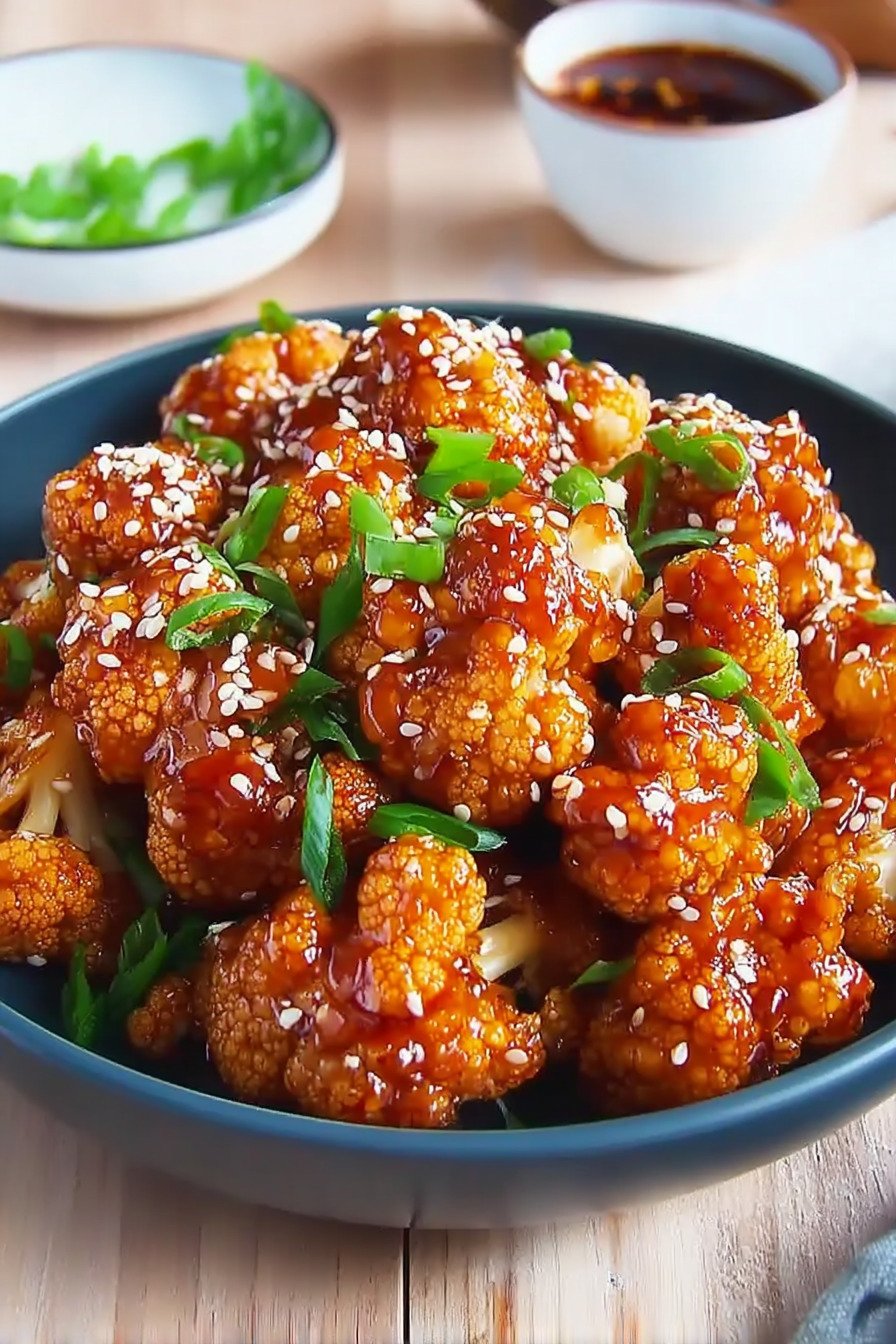
The sauce situation here is pure magic. We’re talking about a glossy, sticky coating that clings to every nook and cranny of that cauliflower. I remember the first time I made this, I was skeptical about whether a simple combination of soy sauce and maple syrup could really deliver that takeout flavor. Spoiler alert – it absolutely can, and it does it better than most restaurants I’ve tried.
This recipe fits perfectly into that sweet spot where healthy meets absolutely delicious. You get all the satisfaction of your favorite Asian takeout dish but with a fraction of the carbs and none of the guilt. Plus, it comes together in about 35 minutes from start to finish, making it perfect for those weeknight dinners when you need something special but don’t have hours to spend in the kitchen.
3) Ingredients for Sticky Sesame Cauliflower
Cauliflower Head The star of our show needs to be fresh and firm. I always go for medium-sized heads because they give you the perfect bite-sized florets. When you’re cutting these up, aim for pieces that are roughly the same size so they cook evenly. Nobody wants some pieces crispy while others are still soft. I learned this lesson the hard way during my early attempts at mastering low carb cauliflower recipes.
All-Purpose Flour This creates our crispy coating magic. If you’re going gluten-free, chickpea flour works beautifully and actually adds a nutty flavor that complements the sesame sauce perfectly. The flour-to-water ratio here is crucial – too thick and your cauliflower looks like it’s wearing a winter coat, too thin and you won’t get that satisfying crunch.
Water Simple but important for creating the right batter consistency. Room temperature water works best because it mixes more easily with the flour. I’ve tried using sparkling water once to see if it would make the batter lighter, and honestly, it didn’t make enough difference to be worth the extra expense.
Salt and Black Pepper These aren’t just for the batter – they’re building the foundation of flavor. I use kosher salt because it dissolves more evenly, and freshly cracked black pepper because pre-ground pepper tastes like cardboard compared to the fresh stuff.
Garlic Powder This adds that savory depth to the coating. Fresh garlic would burn in the high heat of the oven, so powder is our friend here. Don’t skip this ingredient thinking it’s not important – it absolutely makes a difference in the final flavor profile.
Soy Sauce The backbone of our sticky sauce. I prefer low-sodium soy sauce because it gives me more control over the saltiness. If you’re gluten-free, tamari works perfectly and honestly tastes almost identical. The quality of soy sauce really matters here, so don’t go for the cheapest option on the shelf.
Maple Syrup This provides the sweetness and helps create that glossy, sticky texture we’re after. Real maple syrup works better than the artificial stuff, and you can taste the difference. Honey works as a substitute if you’re not keeping things vegan, but maple syrup gives a more complex flavor that pairs beautifully with the sesame oil.
Rice Vinegar The acid that brightens everything up and balances out the sweetness. White vinegar can work in a pinch, but rice vinegar has this gentle tang that doesn’t overpower the other flavors. It’s one of those ingredients that you might not notice when it’s there, but you’ll definitely miss it when it’s not.
Sesame Oil The flavor superstar that makes this taste authentically Asian. A little goes a long way with sesame oil – it’s potent stuff. I always buy the toasted sesame oil because it has so much more depth than the plain version. Store it in the fridge after opening to keep it fresh longer.
Fresh Ginger Grated fresh ginger adds that warming, spicy note that makes the sauce complex and interesting. I keep ginger in my freezer because it grates easier when frozen and lasts much longer. Ground ginger powder just doesn’t give you the same bright, zesty flavor that fresh ginger provides.
Garlic Fresh minced garlic in the sauce complements the garlic powder in the batter. I use a microplane grater for garlic because it creates a paste-like consistency that distributes better in the sauce. Pre-minced garlic from a jar works if you’re in a hurry, but fresh tastes so much better.
Cornstarch Mixed with water, this creates our thickening slurry. The cornstarch transforms our thin sauce into that glossy, sticky coating that clings to the cauliflower. Make sure to mix it with cold water first to prevent lumps – nobody wants chunky sauce ruining their perfectly crispy cauliflower.
4) How to Make Sticky Sesame Cauliflower
Step 1 Preheat your oven to 425°F and line that baking sheet with parchment paper. Don’t even think about skipping the parchment paper unless you enjoy spending quality time scraping stuck-on cauliflower bits later. I learned this lesson the hard way, and my baking sheet still bears the scars from my stubborn early days of recipe testing.
Step 2 Create your batter by whisking together flour, water, salt, pepper, and garlic powder until smooth. The consistency should coat the back of a spoon nicely but not be so thick that it looks like pancake batter. If you end up with lumps, don’t panic – just whisk vigorously for another minute or strain it through a fine mesh sieve.
Step 3 Dip each cauliflower floret into the batter, making sure every surface gets coated. I like to use my hands for this part because you get better coverage than with tongs, and you can feel when each piece is properly coated. Place them on your prepared baking sheet with space between each piece – they need room to breathe and get crispy.
Step 4 Slide that tray into your preheated oven and bake for 20-25 minutes, flipping halfway through. You’re looking for golden brown color and a crispy texture when you tap them with a fork. The flipping part is non-negotiable if you want even crispiness on all sides.
Step 5 While your cauliflower is getting its crispy on, make the sauce. Heat a small saucepan over medium heat and combine soy sauce, maple syrup, rice vinegar, sesame oil, ginger, and garlic. Stir everything together and bring it to a gentle simmer. The kitchen will start smelling amazing at this point.
Step 6 Add your cornstarch slurry to the simmering sauce, stirring constantly. Watch as it transforms from thin liquid to glossy, sticky goodness in about 2 minutes. Once it coats the back of your spoon, remove it from heat. Don’t walk away during this step – cornstarch can go from perfect to gloopy mess in seconds.
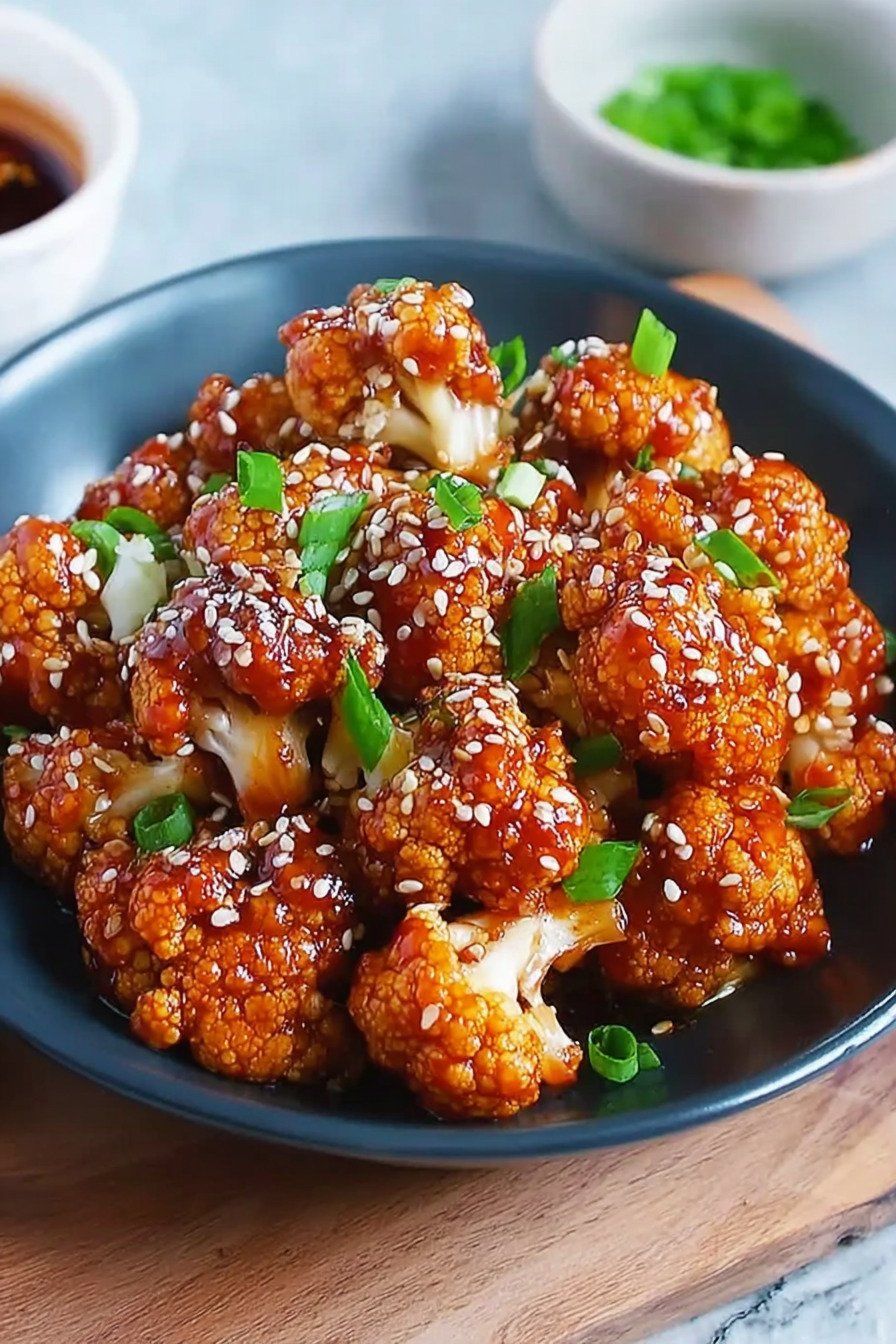
Step 7 When the cauliflower emerges from the oven golden and crispy, immediately toss it in the warm sticky sauce. Work quickly here so the cauliflower doesn’t lose its crispiness. Every piece should get coated in that beautiful, glossy sauce.
Step 8 Sprinkle with sesame seeds and serve immediately. I cannot stress this enough – eat this right away while it’s hot and the coating is still crispy. This dish waits for no one, and your patience will be rewarded with the most satisfying textural experience you can imagine.
5) Tips for Making Sticky Sesame Cauliflower
Cut your cauliflower pieces uniformly. This might seem obvious, but I see people throwing random-sized chunks onto baking sheets all the time. When pieces are different sizes, some get perfectly crispy while others remain soggy and sad. I spend an extra few minutes making sure all my florets are roughly the same size, and it makes a world of difference in the final result.
Don’t overcrowd your baking sheet. I know it’s tempting to fit everything onto one pan, but cramped cauliflower steams instead of getting crispy. Use two baking sheets if needed, and make sure there’s space around each piece. Think of it as giving your cauliflower room to shine and develop that golden, crispy exterior we’re after.
Make your sauce right before you need it. The cornstarch thickening works best when the sauce is warm and fresh. If you make it too far ahead, it can get thick and gloopy, and reheating doesn’t always bring back that perfect consistency. I time it so the sauce finishes just as the cauliflower comes out of the oven.
Use a high oven temperature and don’t be afraid of it. Some people get nervous about 425°F, but that high heat is what creates the crispy exterior while keeping the inside tender. Lower temperatures just won’t give you the same results. I’ve tested this at different temperatures, and 425°F is the sweet spot for these tasty vegetarian recipes.
6) Making Sticky Sesame Cauliflower Ahead of Time
Here’s the thing about making this ahead – the crispy factor is going to take a hit no matter what you do. That said, there are ways to minimize the damage and still end up with something delicious. I’ve experimented with this quite a bit because meal prep is life, and I’ve found some tricks that work pretty well.
You can prep the cauliflower florets and batter separately up to a day ahead. Keep the cut cauliflower in the fridge in a sealed container, and store the batter covered as well. Just give the batter a good whisk before using because it tends to separate as it sits. The sauce components can be measured and combined except for the cornstarch slurry – that needs to be made fresh.
If you absolutely must make the entire dish ahead, bake the coated cauliflower and let it cool completely before storing in the fridge. When you’re ready to eat, reheat it in a 400°F oven for about 10 minutes to crisp it back up, then toss with freshly made warm sauce. It won’t be quite as crispy as fresh, but it’s still pretty darn good.
The sauce situation is tricky for make-ahead situations. Cornstarch-thickened sauces don’t reheat beautifully, so I recommend making it fresh each time. It only takes about 5 minutes, and the difference in texture and flavor is worth that small time investment. This approach keeps these low carb recipes tasting their best even when you’re meal prepping.
7) Storing Leftover Sticky Sesame Cauliflower
Let’s be realistic about leftovers here. This sticky sesame cauliflower is never quite the same the next day, but it’s still pretty tasty if you store and reheat it properly. I store leftovers in an airtight container in the fridge for up to 3 days. Don’t leave it sitting out on the counter for hours – the sauce can get weird and the cauliflower gets soggy faster.
For reheating, skip the microwave completely. I know it’s convenient, but microwaving will turn your once-crispy cauliflower into sad, mushy vegetables covered in congealed sauce. Instead, spread the leftover cauliflower on a baking sheet and pop it into a 375°F oven for about 8-10 minutes. This helps restore some of that crispy texture.
If the sauce looks thick and gloppy after refrigeration (which it probably will), you can thin it out with a tiny bit of water or soy sauce while reheating. Sometimes I make a small batch of fresh sauce and drizzle it over the reheated cauliflower for the best of both worlds. The leftovers make great additions to grain bowls or fried rice too.
Pro tip for leftover management – if you know you’ll have leftovers, consider storing some of the cauliflower without sauce. Plain crispy cauliflower reheats much better than sauced cauliflower, and you can always make fresh sauce to toss it in. This works especially well when you’re incorporating these recipes low carb into your weekly meal prep routine.
8) Try these Main Course next!


9) Sticky Sesame Cauliflower
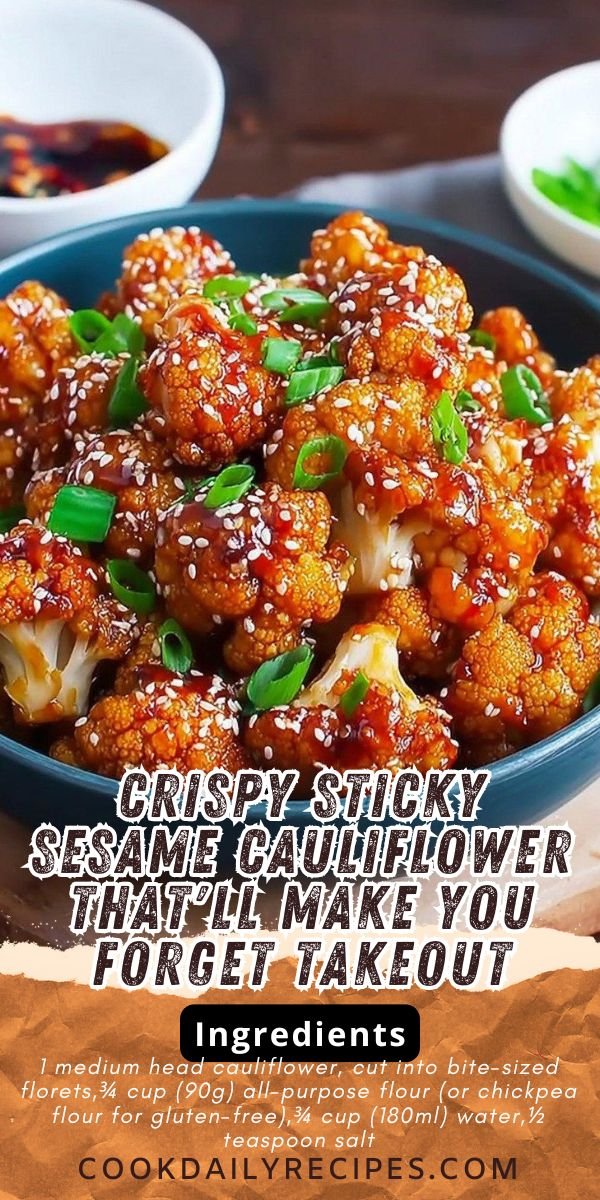
Low Carb Vegetarian Recipes: Crispy Sticky Sesame Cauliflower That’ll Make You Forget Takeout
Ingredients
For the Crispy Cauliflower
- 1 medium head cauliflower, cut into bite-sized florets
- ¾ cup (90g) all-purpose flour (or chickpea flour for gluten-free)
- ¾ cup (180ml) water
- ½ teaspoon salt
- ½ teaspoon black pepper
- 1 teaspoon garlic powder
- 1 teaspoon sesame seeds (for garnish)
For the Sticky Sesame Sauce
- ¼ cup (60ml) soy sauce (or tamari for gluten-free)
- 2 tablespoons maple syrup (or honey for non-vegan)
- 1 tablespoon rice vinegar
- 1 tablespoon sesame oil
- 1 teaspoon grated ginger
- 1 teaspoon minced garlic
- 1 tablespoon cornstarch mixed with 2 tablespoons water (for thickening)
Instructions
- Preheat your oven to 425°F (220°C) and line a baking sheet with parchment paper. Trust me, don’t skip the parchment paper unless you enjoy scraping sticky bits off your pan later.
- Whisk together the flour, water, salt, black pepper, and garlic powder in a bowl until smooth. The batter should coat the back of a spoon nicely.
- Dip each cauliflower floret into the batter, making sure it’s fully coated but not drowning. Place them on your prepared baking sheet with space between each piece (they need room to get crispy!).
- Bake for 20-25 minutes, flipping halfway through. You’re looking for golden brown and crispy on the outside.
- While the cauliflower works its magic in the oven, make your sauce. Heat a small saucepan over medium heat and add soy sauce, maple syrup, rice vinegar, sesame oil, ginger, and garlic. Stir well and bring to a gentle simmer.
- Add the cornstarch-water mixture to the simmering sauce, stirring constantly. The sauce will thicken in about 2 minutes. Once it coats the back of your spoon, remove from heat.
- When the cauliflower is perfectly crispy, toss it in the sticky sesame sauce until every piece is beautifully coated.
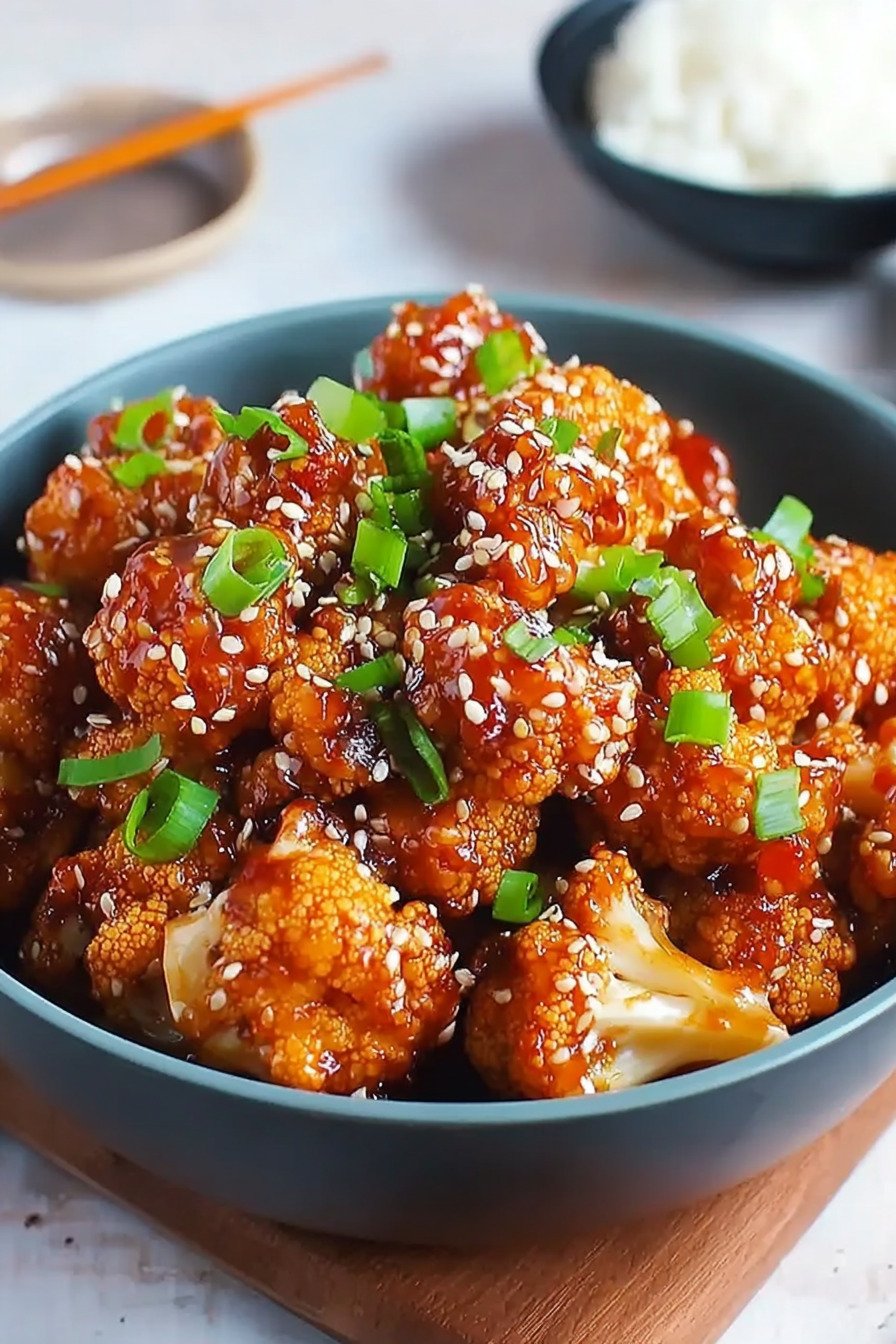
- Sprinkle with sesame seeds and serve immediately while it’s still hot and crispy. I like to serve this over rice or quinoa, but it’s honestly good enough to eat straight from the pan.
10) Nutrition
Serving Size: 1/4 of recipe, Calories: 95, Sugar: 8.2 g, Sodium: 612 mg, Fat: 4.5 g, Saturated Fat: 0.7 g, Carbohydrates: 12.8 g, Fiber: 3 g, Protein: 2.8 g, Cholesterol: 0 mg


Leave a Comment